Harmony H-162
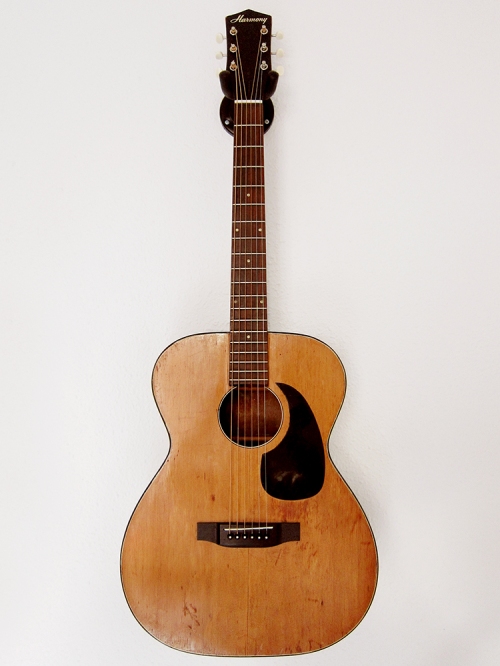
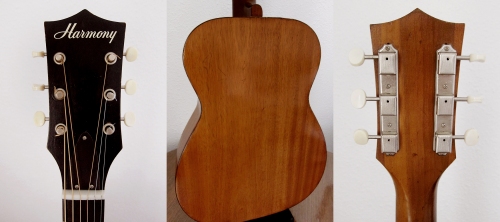
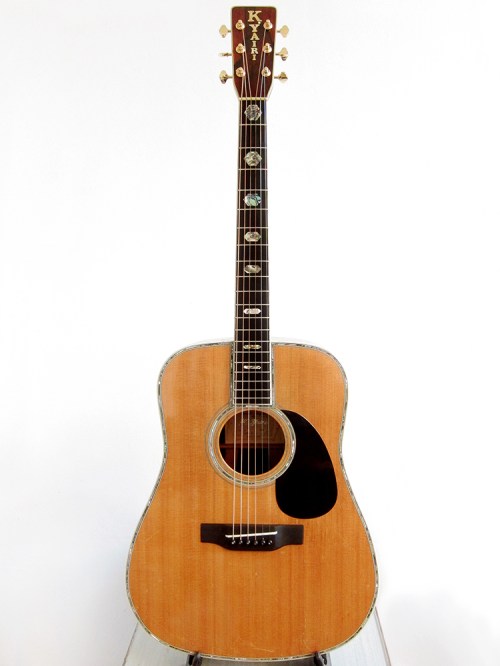
Harmony H-162, Made in Chicago, USA in the late 1960’s
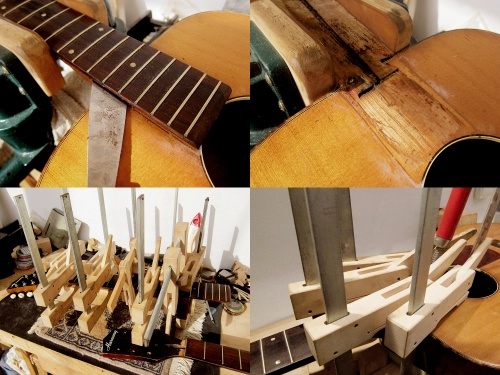
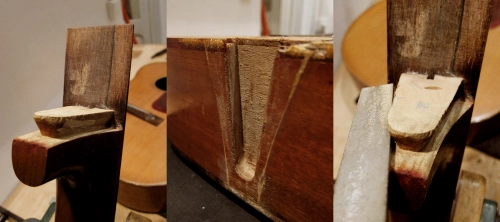
I finally put the second Harmony H-162 back together. I got two late 1960’s Harmony H-162 acoustic guitars about 2-3 years ago and it has taken forever to actually find the time to re-set the necks on them. The first one I put together back in November and that one was sold straight away. This one is reserved for a friend of mine but if he decides to get one of my Levin guitars instead then I will put it up for sale. They are really nice these Harmony guitars, wide neck, strong tone and great wood. Harmony used the same wood supplier as Martin back in the day. These were called folk guitars which is a grand concert size, the exact same size as a Martin 000. The Harmony H-162 was produced in Chicago from 1940-1971, this one is most likely from the late 1960’s looking at the headstock. Even though it was an inexpensive guitar at the time they were built with all solid woods, back and sides of selected quality mahogany with a resonant spruce top. It’s a surprisingly well sounding guitar for being a mass produced ladder braced guitar, way better sounding than any Gibson B-15 or B-25 I’ve heard and it cost a third. The neck is pretty wide which makes it extremely comfortable for finger picking. Considering the price of a late 1960’s Martin 000-18, or even a Gibson B-25, the Harmony H-162 is a bargain for a USA made all solid wood vintage guitar.
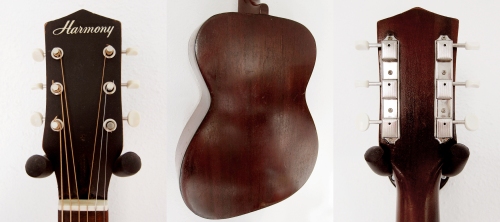
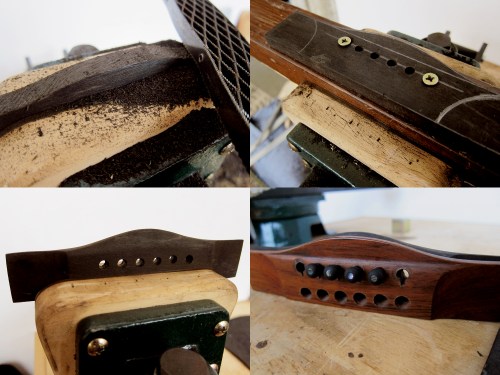
 The Harmony H-162 was missing machine heads, nut and saddle so I cut new ones in bone and added machine heads and some ebony bridge pins.
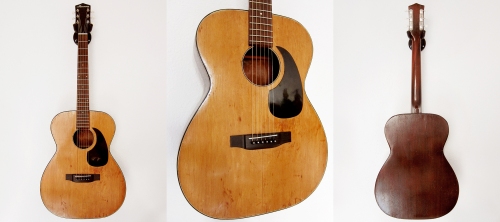
 Harmony H-162, Made in Chicago, USA in the late 1960’s


 I thought about getting a pre-made
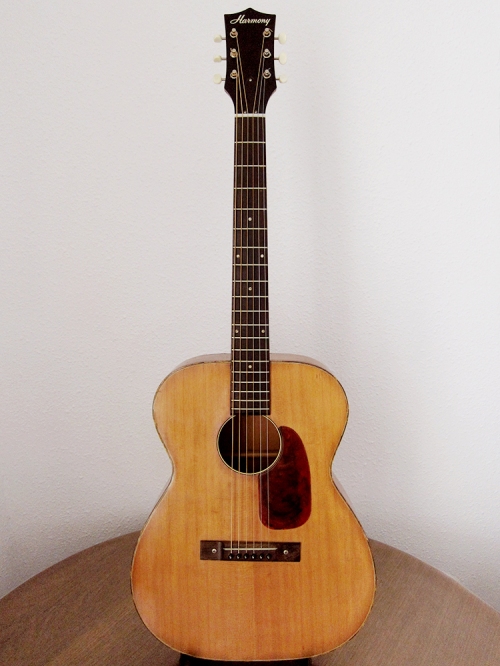
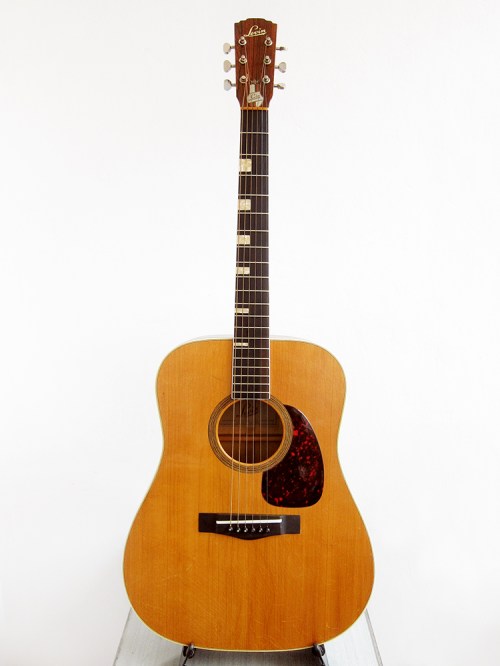
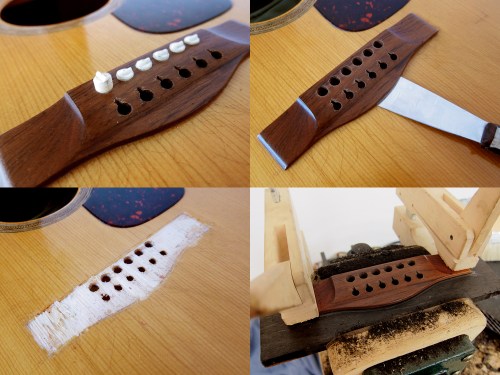
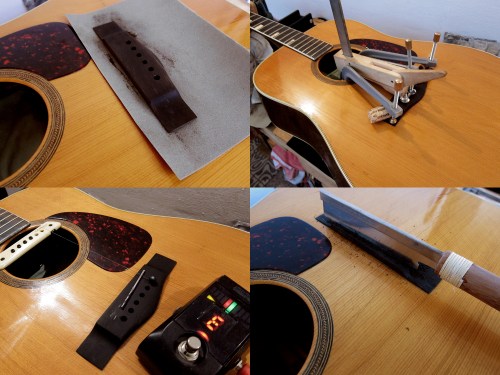
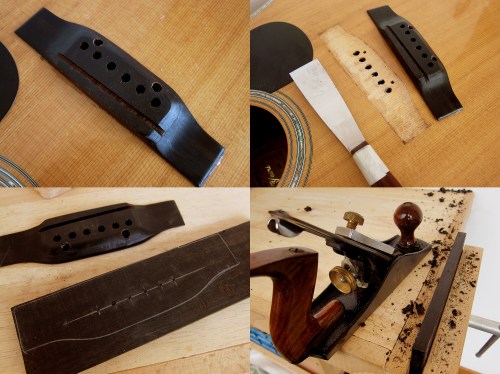
 I glued the bridge on and after 3 days I strung up both E-strings and used a drill as a saddle so I could move it around until I got the intonation right, I forgot to take a picture of that. I marked out the saddle and then sawed a 3 mm slot. Next step was to create a bone saddle to match and string it up. Easy peasy, well it was a hard days work but it was easier that I thought.