Levin 174
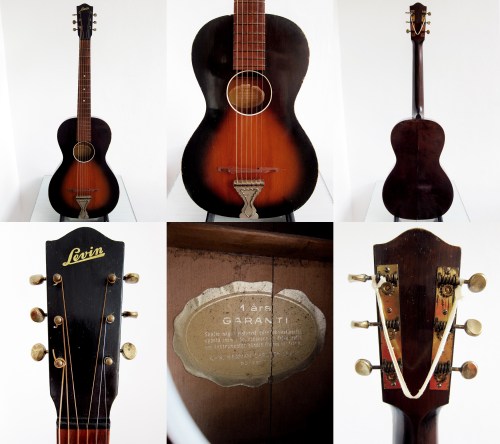
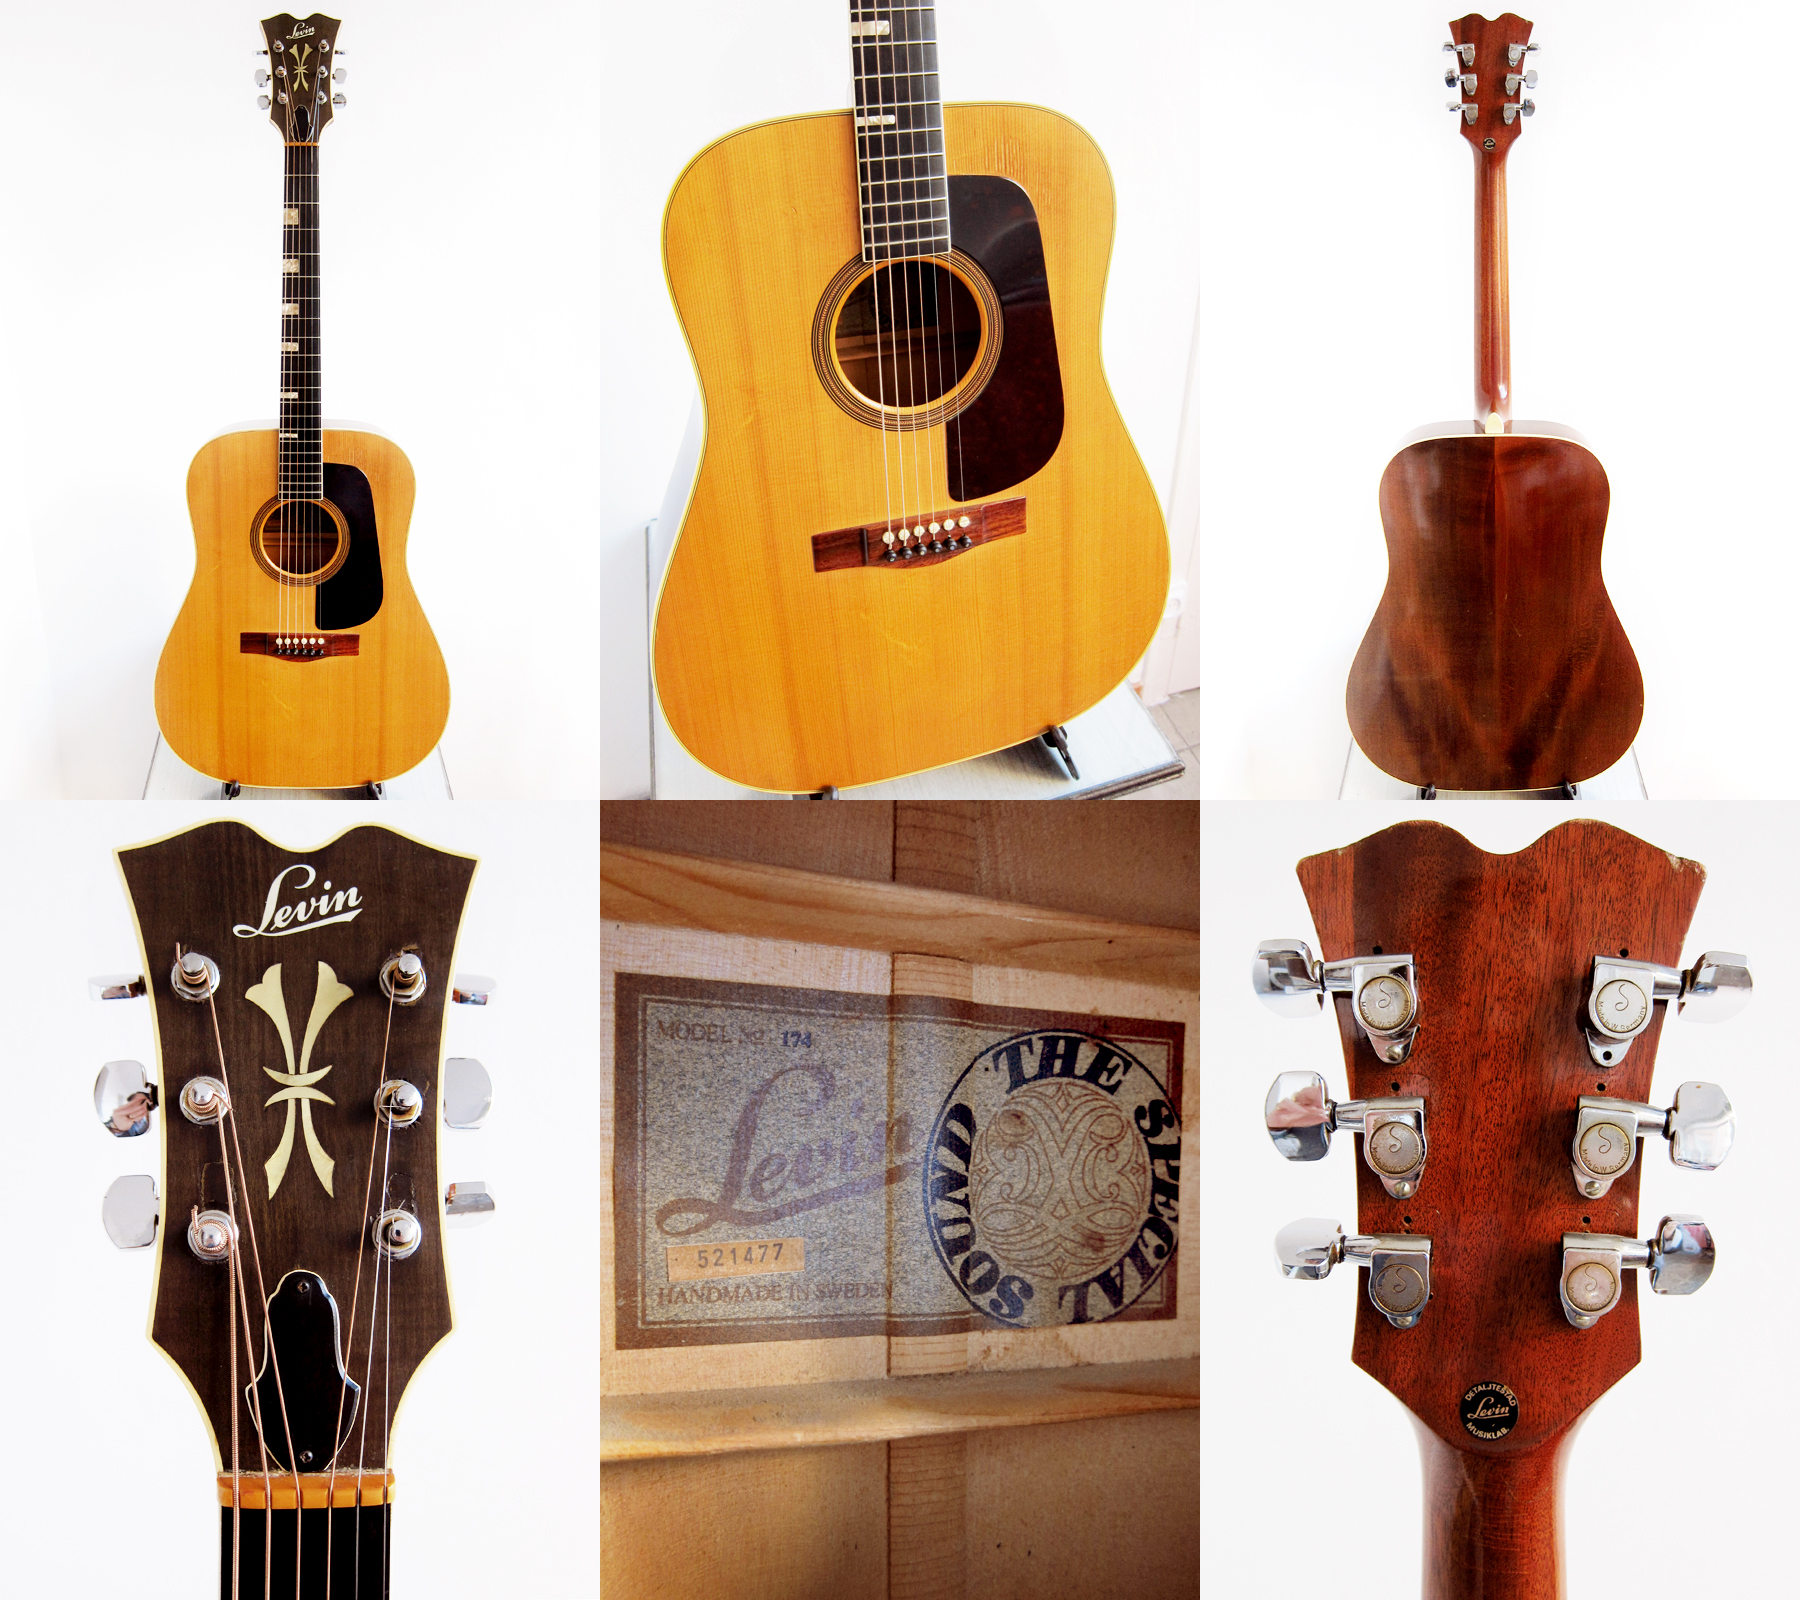
 Levin Model 174 Made in Sweden 1972
My latest acquisition, a 1972 Levin Model 174. The story how I got this guitar is pretty amazing. I wrote a post about Levin guitars back in August 2013 when I had just started to collect them. In the end of the post I mentioned that I would love to find a Levin Model 174, it’s basically a Levin LT-18 but with a massive head. There is something about that huge head that I find very appealing, I guess it reminds me of old an archtop guitar from 1930-40’s and it’s almost a bit Art Deco. Three months later, in the end of November, I got a comment from a Danish guy called Orla saying that he had one for sale. We started to email each other and he told that a few days earlier he had seen a guy about to throw a guitar case in a skip so he had gone up to him and asked if he could have it instead. Orla took the case home, opened it and found a 1972 Levin Model 174 in pretty good shape inside. He Googled the name and model and pretty soon found my blog post saying that I was looking for one. Since Orla doesn’t play guitar himself, he just wanted to save it from a certain death, he contacted me and offered me to buy it and I’m very grateful that he did. It was a bit scary to buy a guitar from a guy I didn’t know who had contacted me through my blog, it felt a bit fishy somehow. A part of me thought it was a Nigerian email scam in disguise and another part said that I should trust the good in people, especially a Northern neighbour like Orla. In the end I decided that it was an offer I really couldn’t turn down, especially since most of the 174’s I had seen for sale were all Goya labelled and made later in the 1970’s. It took some time to get the guitar down to Spain, we had some logistic issues but finally it arrived about two weeks ago and I was stunned. Since Orla doesn’t play he couldn’t give me any info about what state the guitar was in, he had sent me some pictures but it’s pretty hard to get an idea if it’s even playable from just that. Luckily it was in a really good state and it both sounds and feels great.
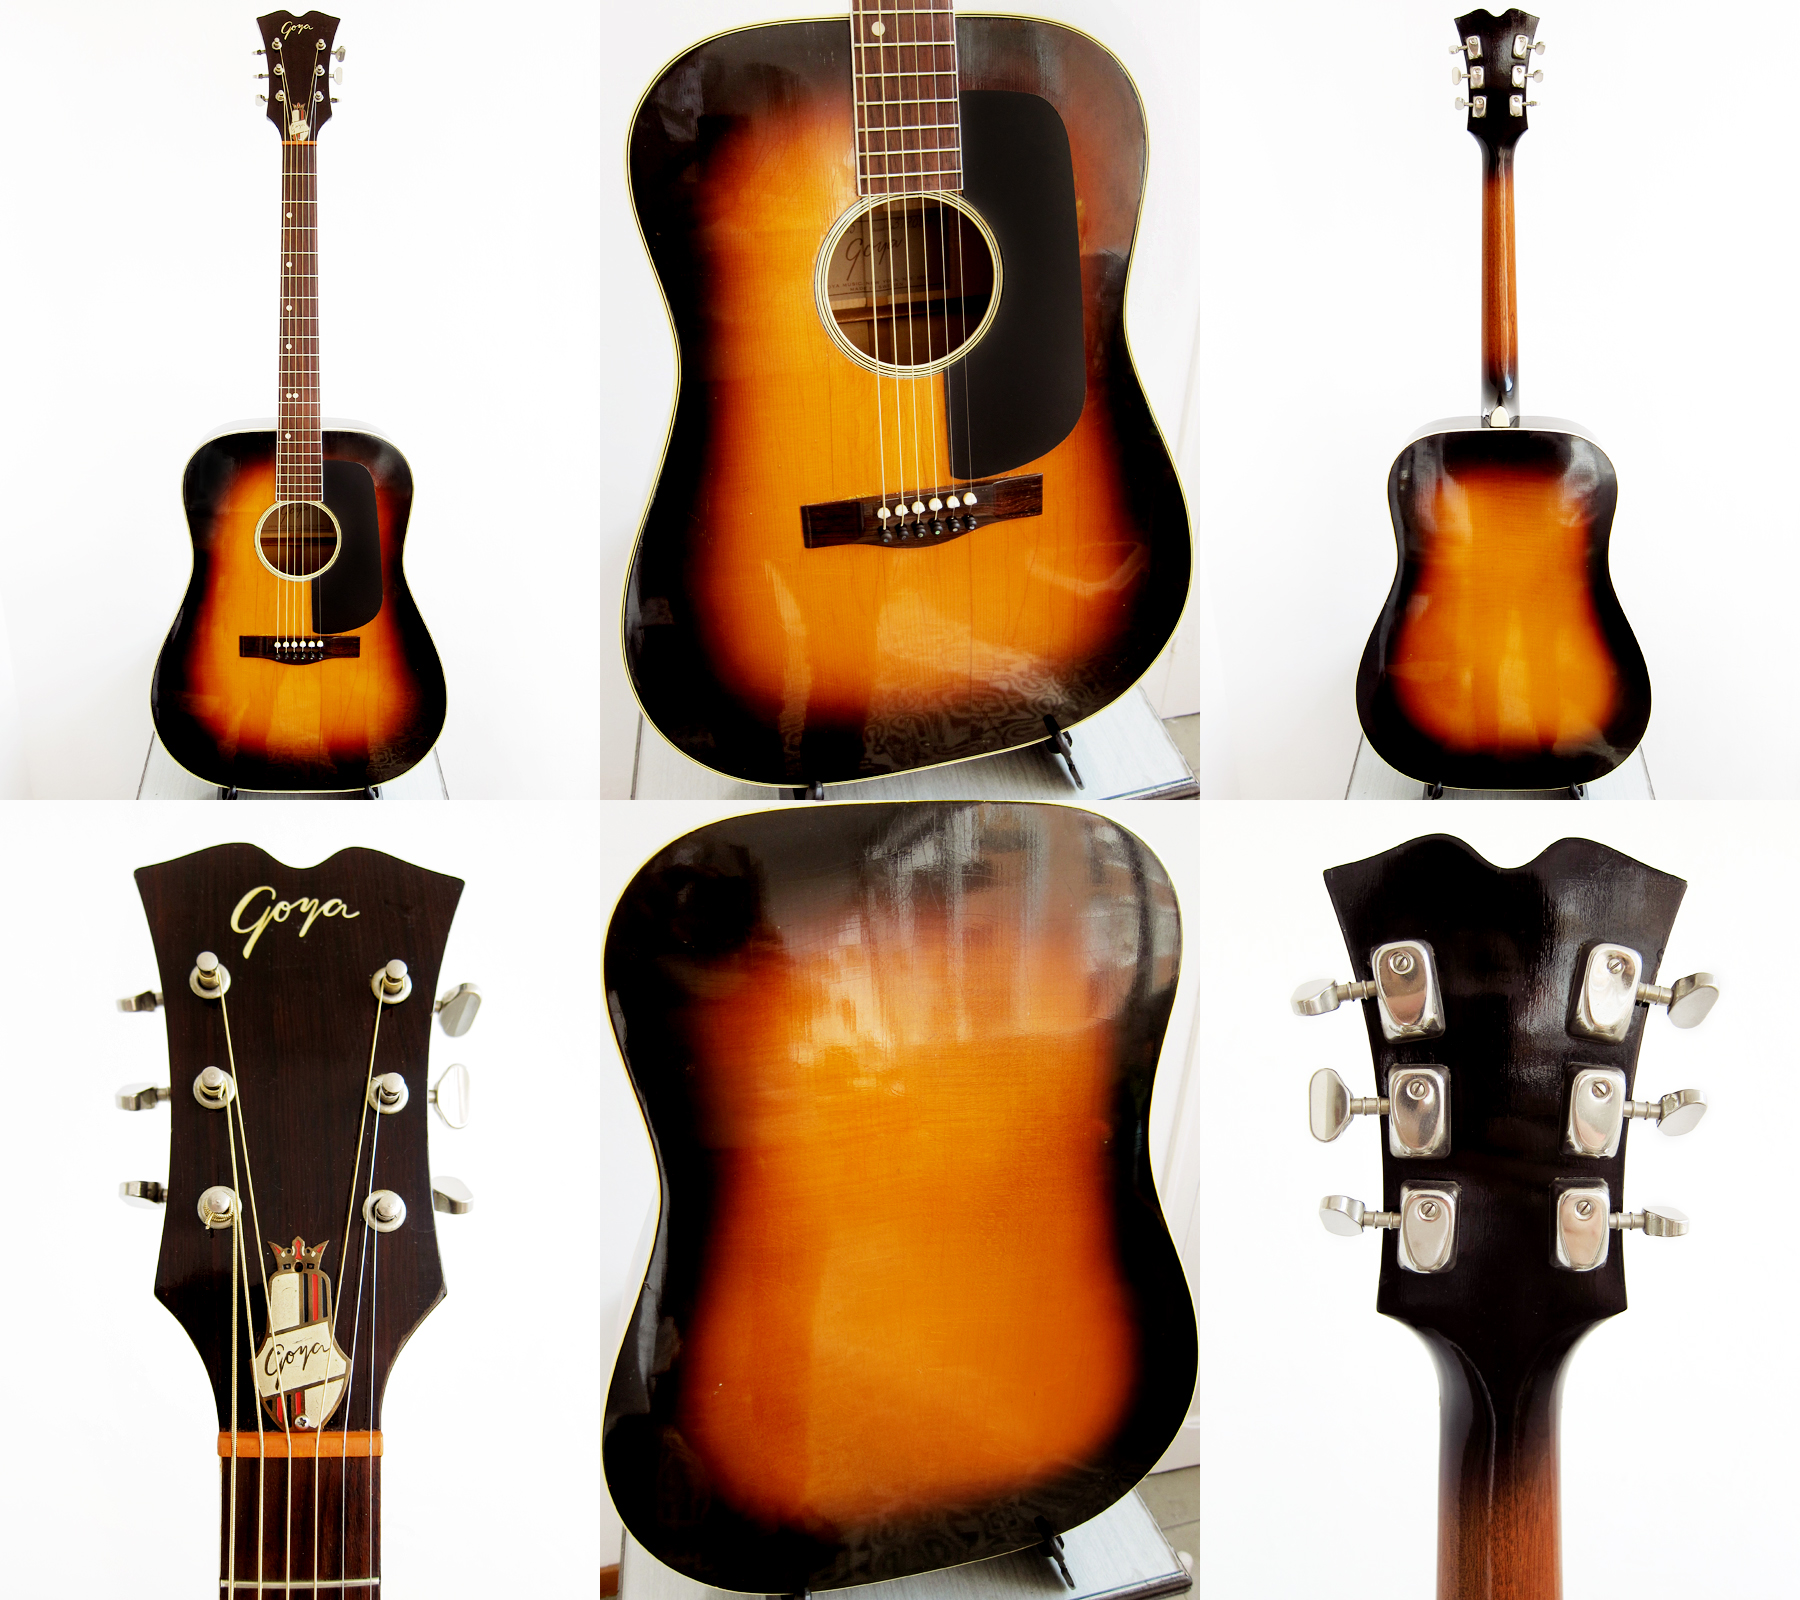
Levin Model 174 /Goya Model 174
Goliath size: Body width: 400 mm, body length: 505 mm, body depth: 95/120 mm
Fingerboard width: 43 mm, scale length: 630 mm
Spruce top, flame maple back and sides, 4-ply bound top, single-bound back
Mahogany bolt-on neck with adjustable truss rod
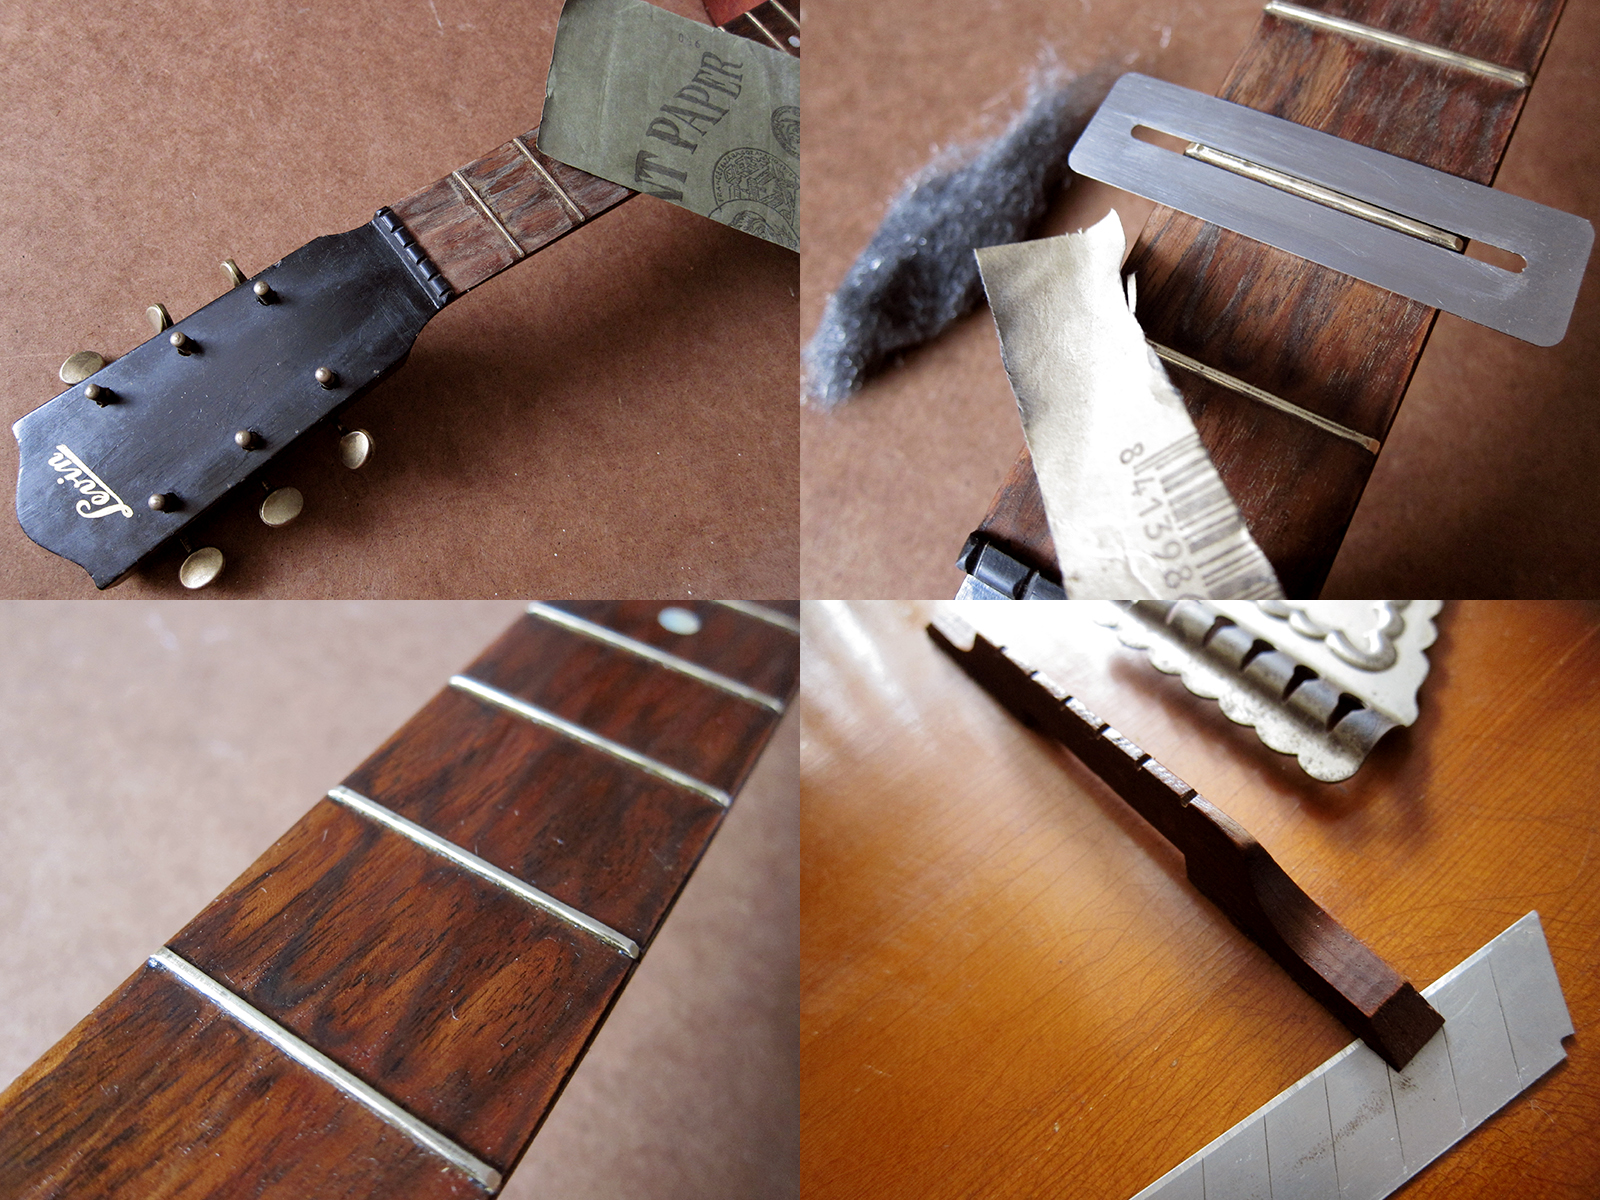
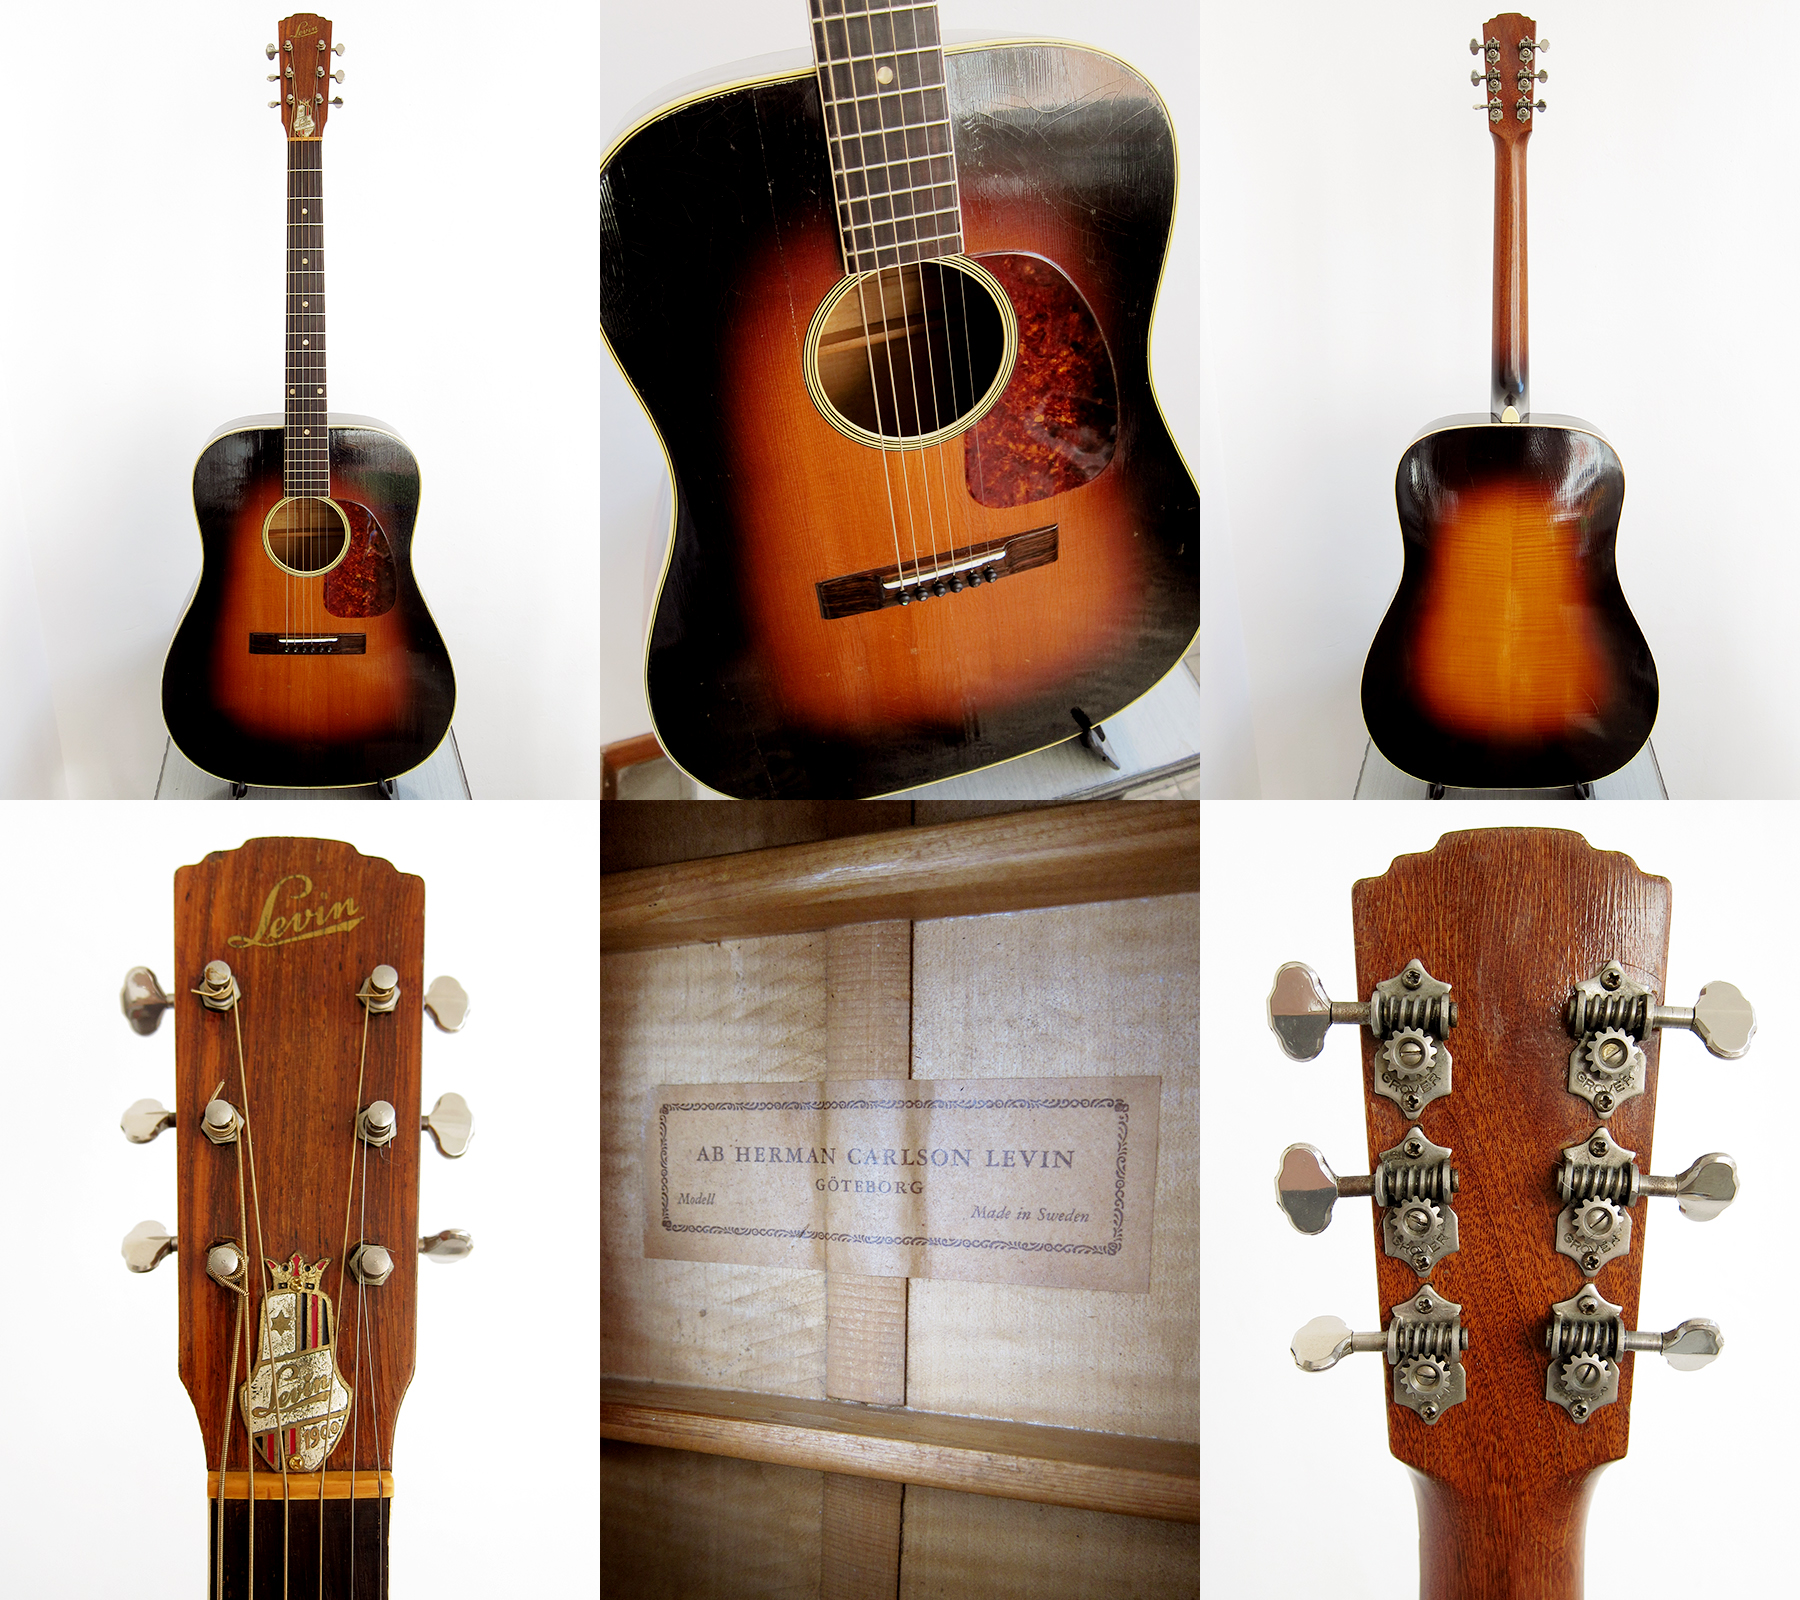
Single-bound headstock with mother-of-pearl inlay
Single-bound ebony fingerboard with bass side pearloid block inlays
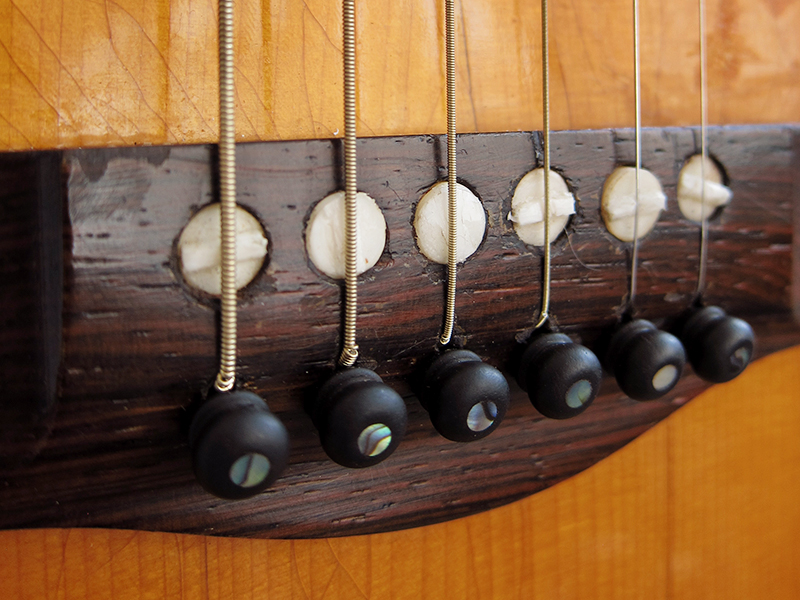
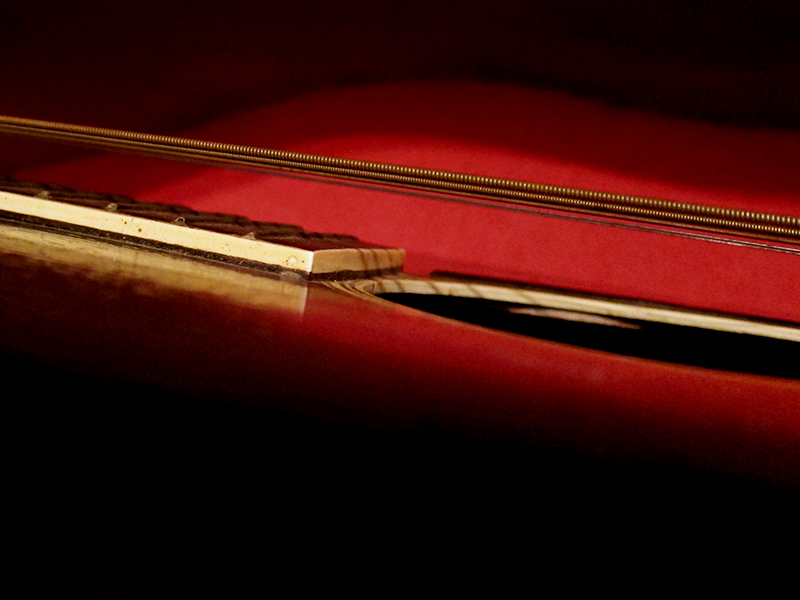
Rosewood bridge with individual height adjustable plastic saddles
Nickel plated individual Van Gent tuners with metal buttons
Natural finish and ten year warranty
Introduced circa 1969 as a replacement for LT 18
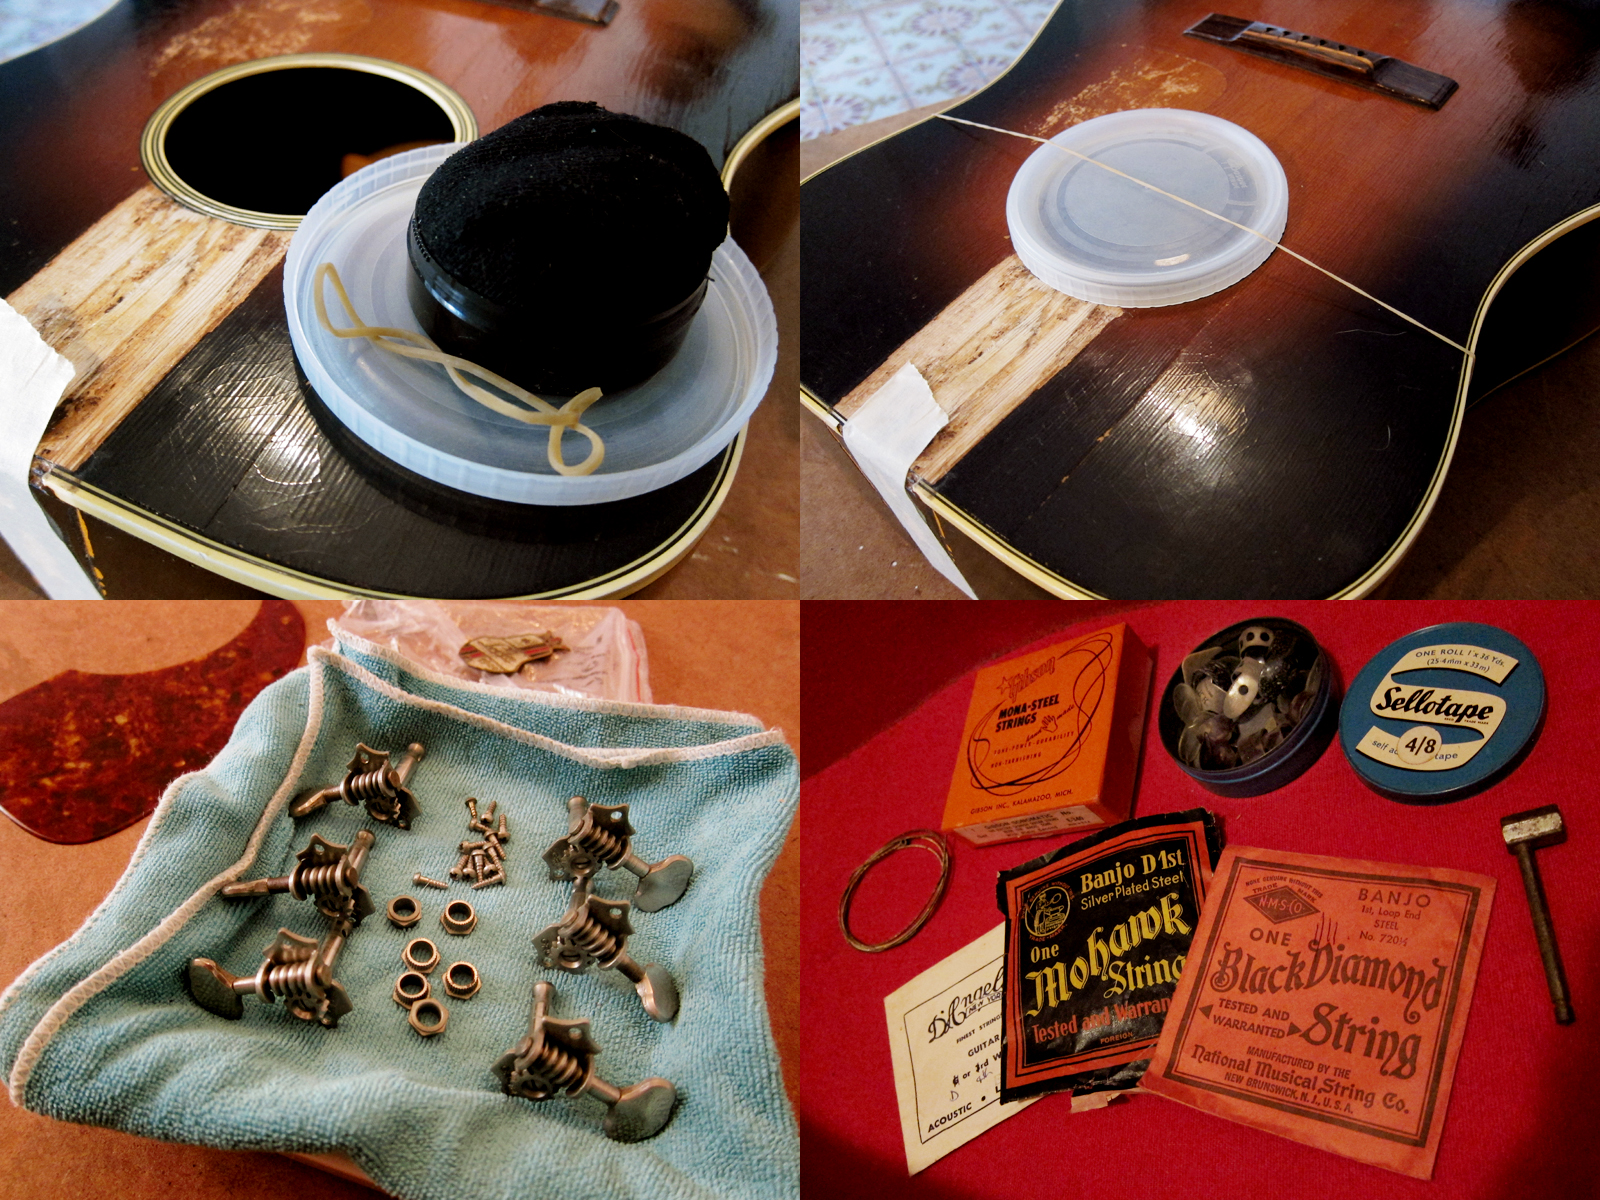
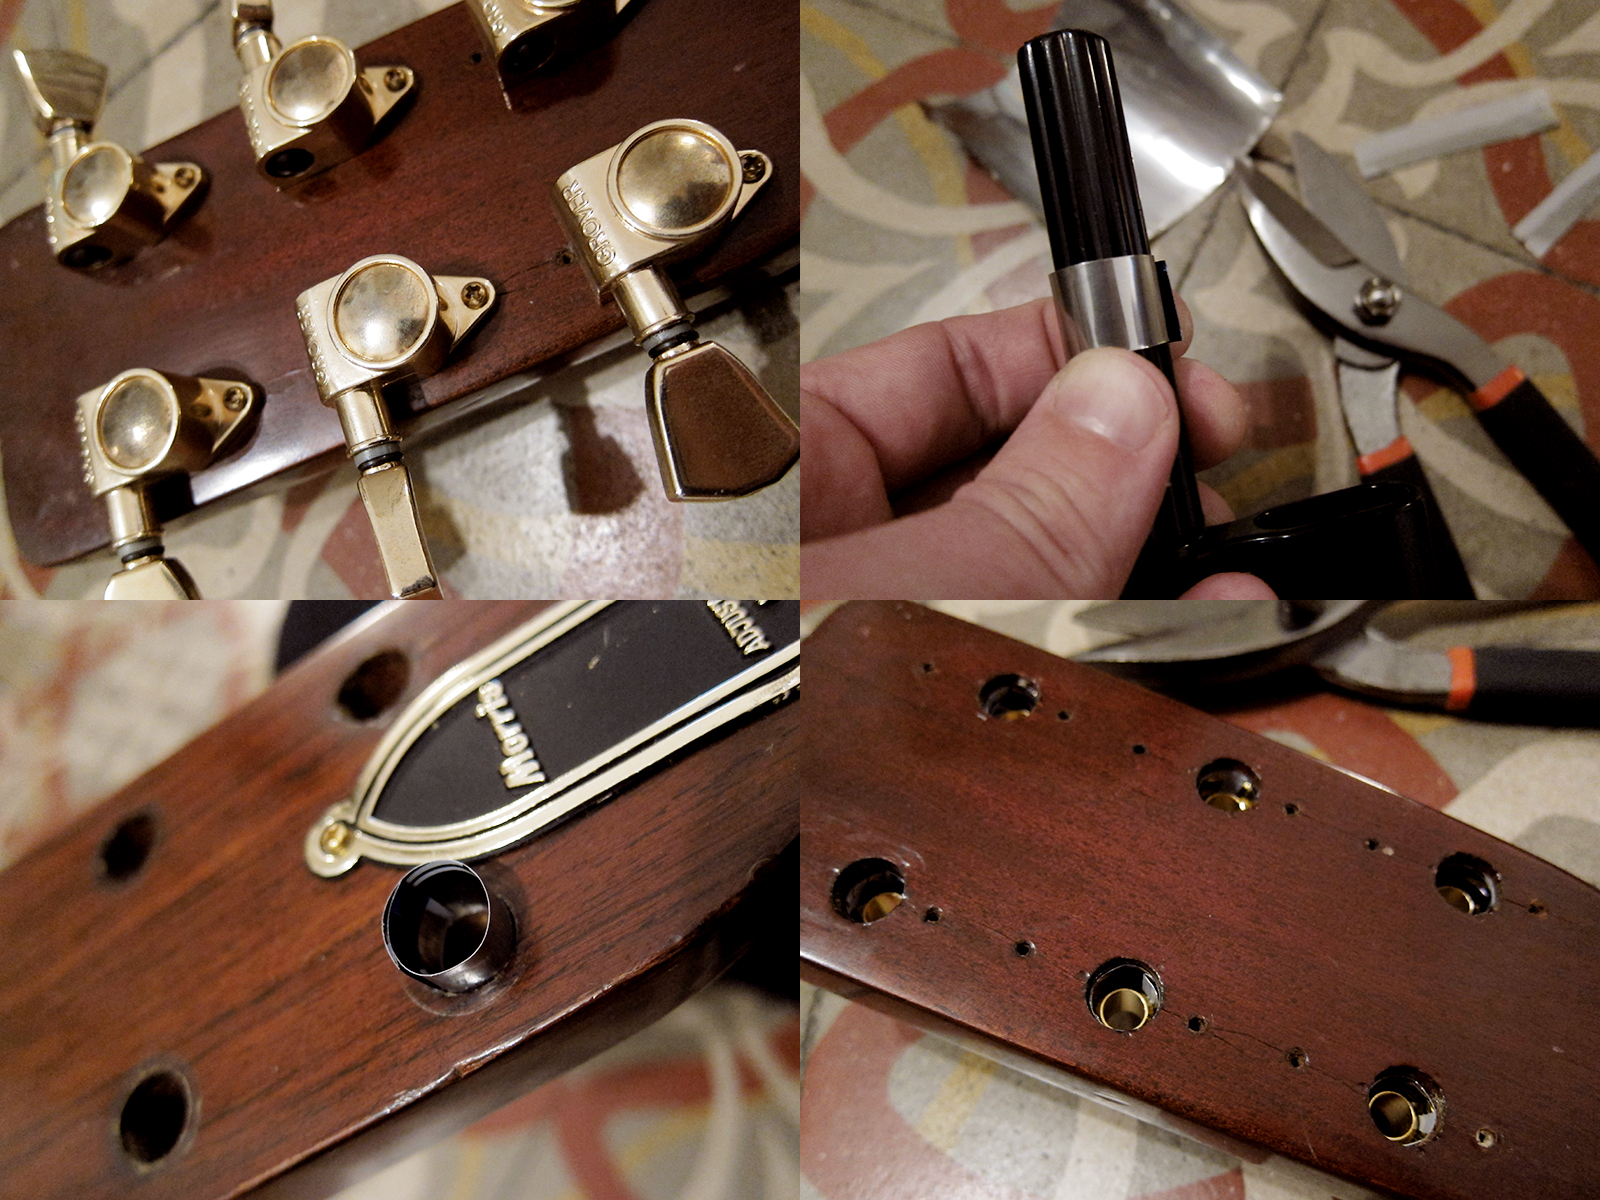
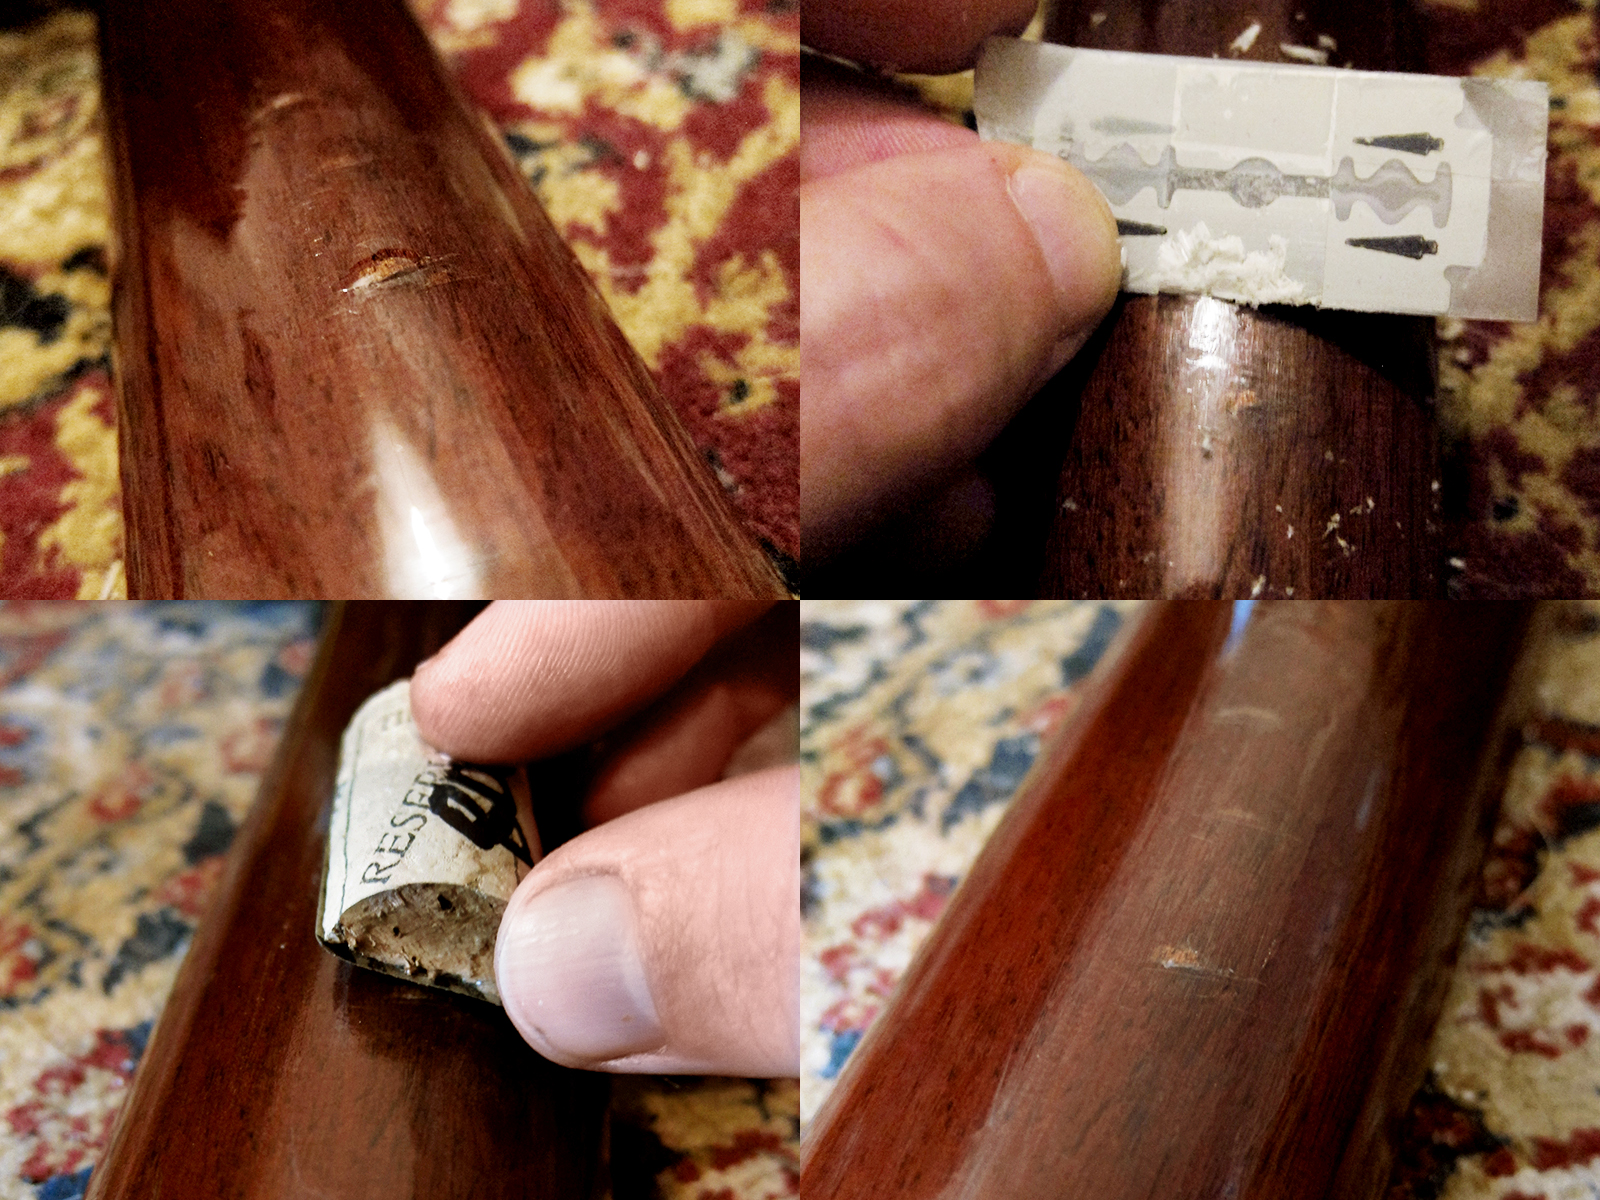
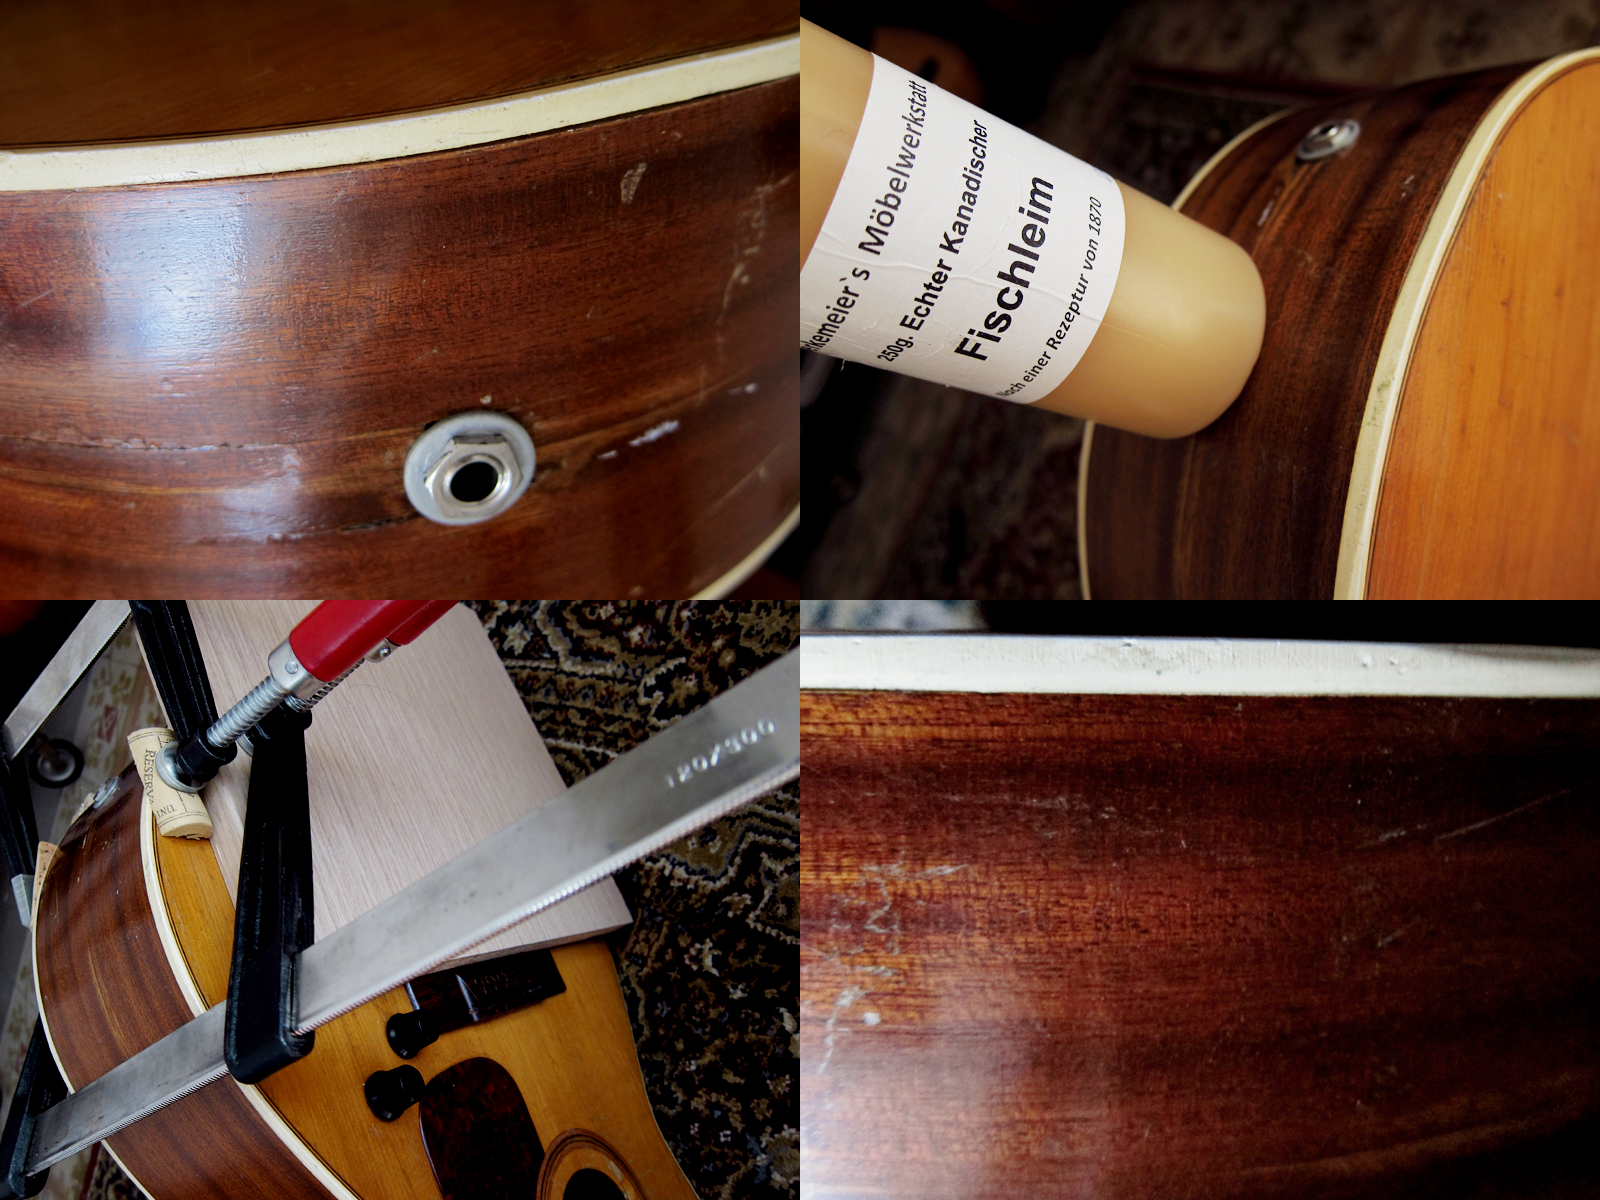
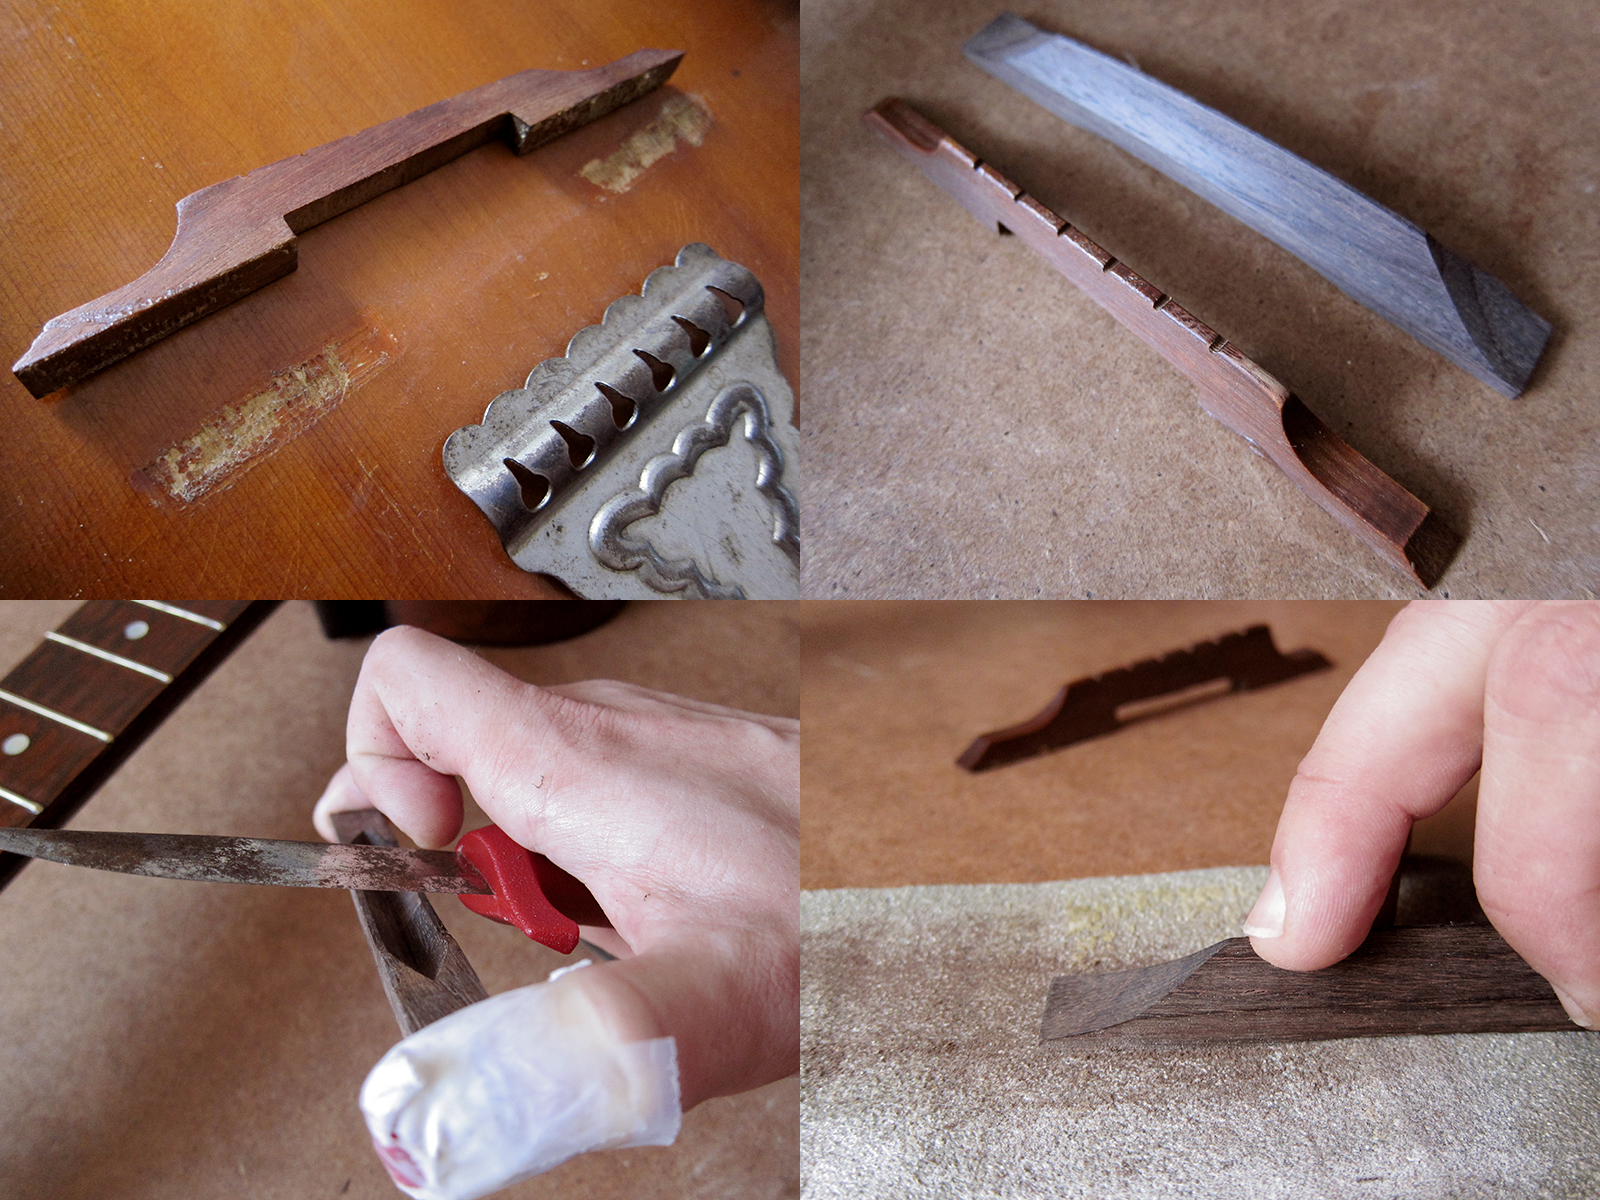
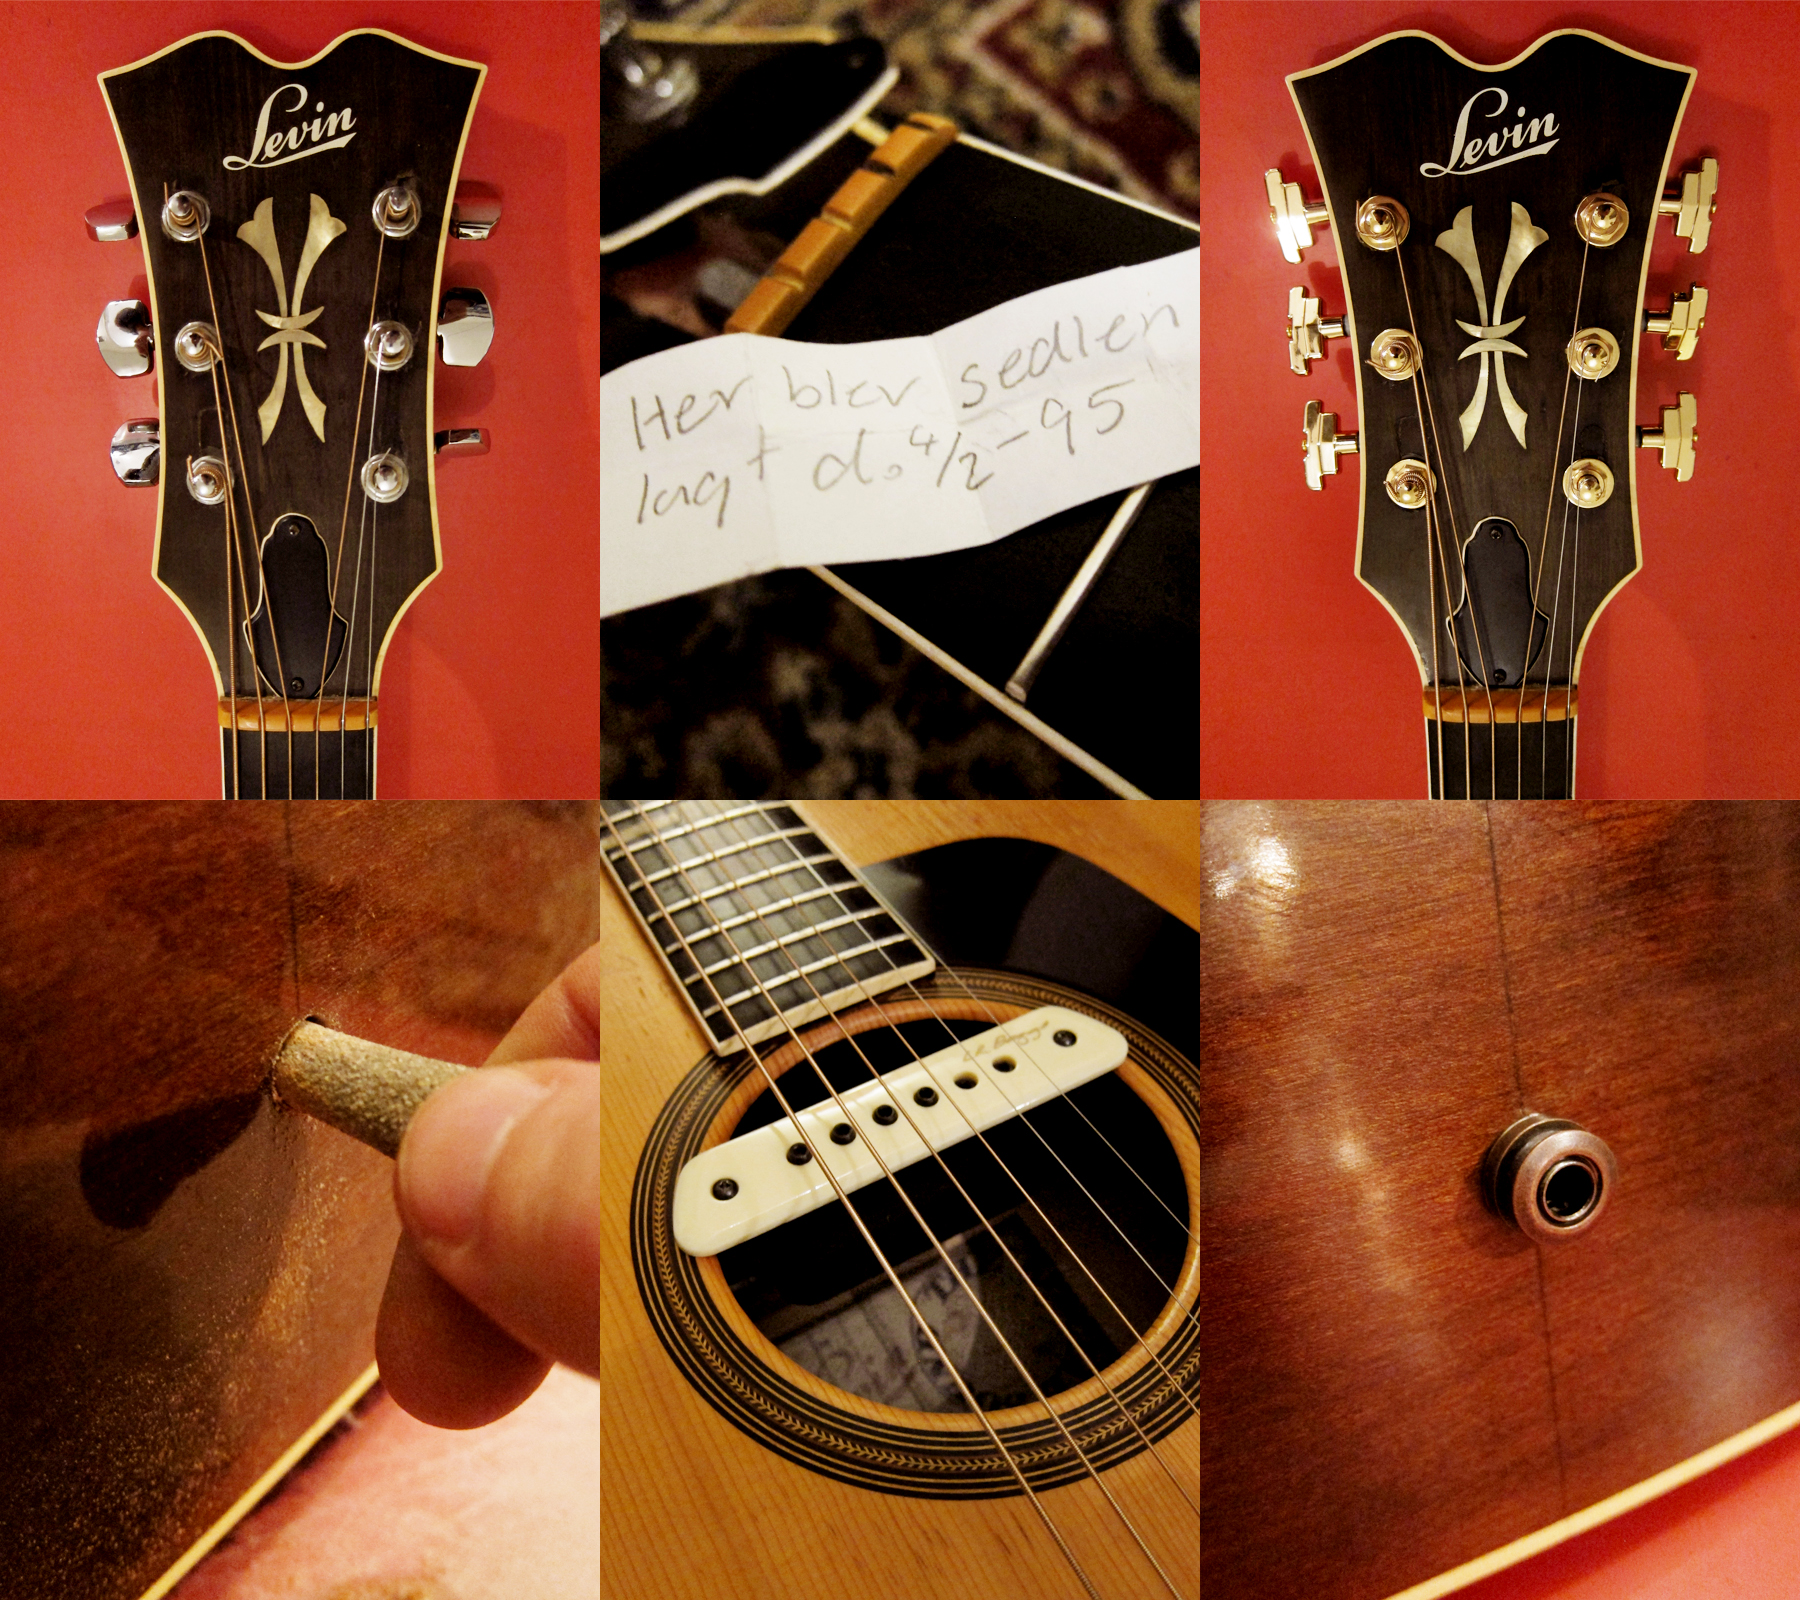 I didn’t have to do much to it, the action was really good as it was. Which was very lucky because this 174 doesn’t have the Levin bolt-on neck system, they stopped with that in the early Seventies. The original Van Gent machine heads had been changed at some point, probably in the 1970’s, to Schaller’s and I really don’t like these type of buttons so I changed them for Wilkinson WJ-309 in gold, to make it look even more Art Deco. I also installed an endpin jack so I can use it live with my LR Baggs M1. I had to clean it a bit, polish the frets and oil the fretboard but overall it was pretty good from the start. There was a note hidden under the trussrod cover saying, Her blev sedlen lagt 4th of February 1995. I assume that’s referring to that the nut was raised a bit 19 years ago, something I need to redo at some point because they seem to have used some paper like material instead of bone.
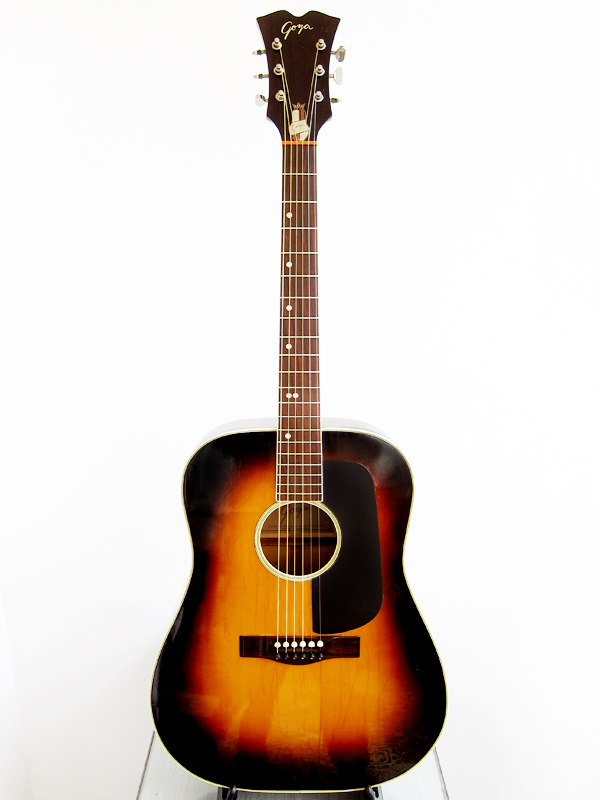
 The whole Levin family, Goya Model 163 (1968), Goya T-18 (1966), Levin Model 13 (1950), Levin LT-16 (1966), Levin Model 65 (1942), Levin LM-26 (1959), Levin Model 174 (1972).

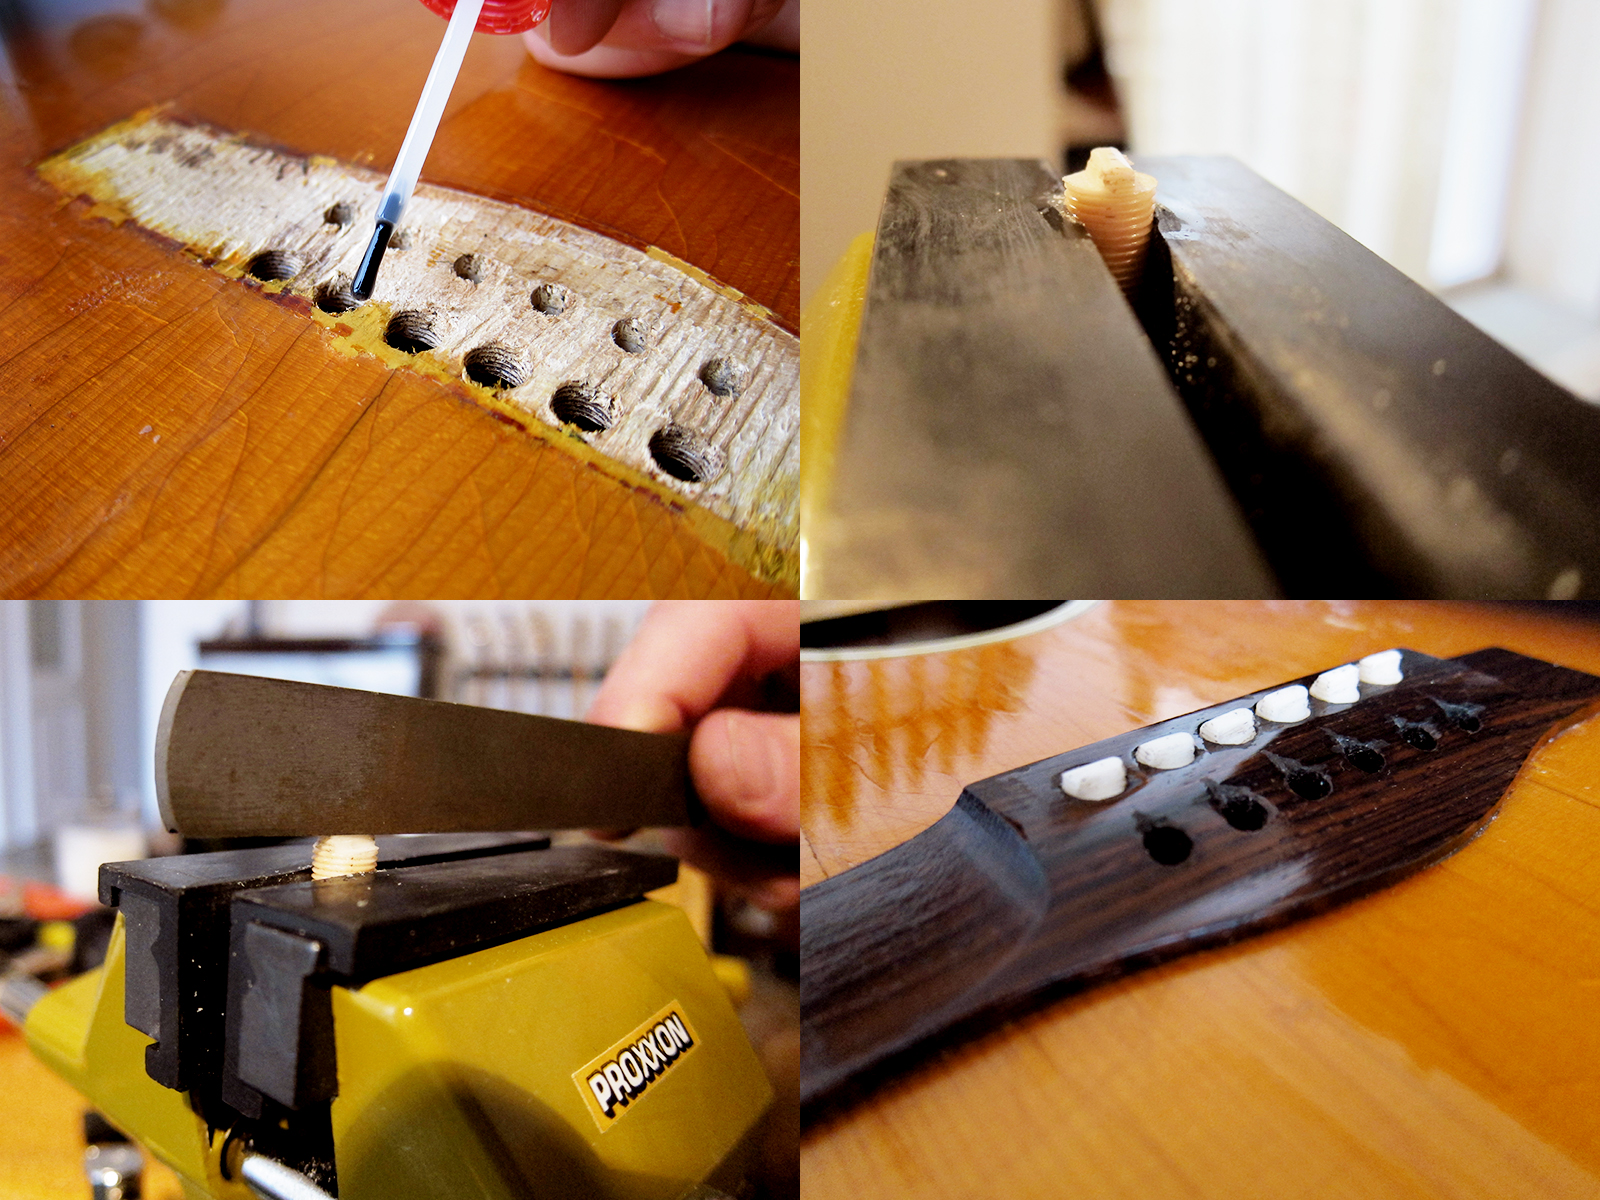
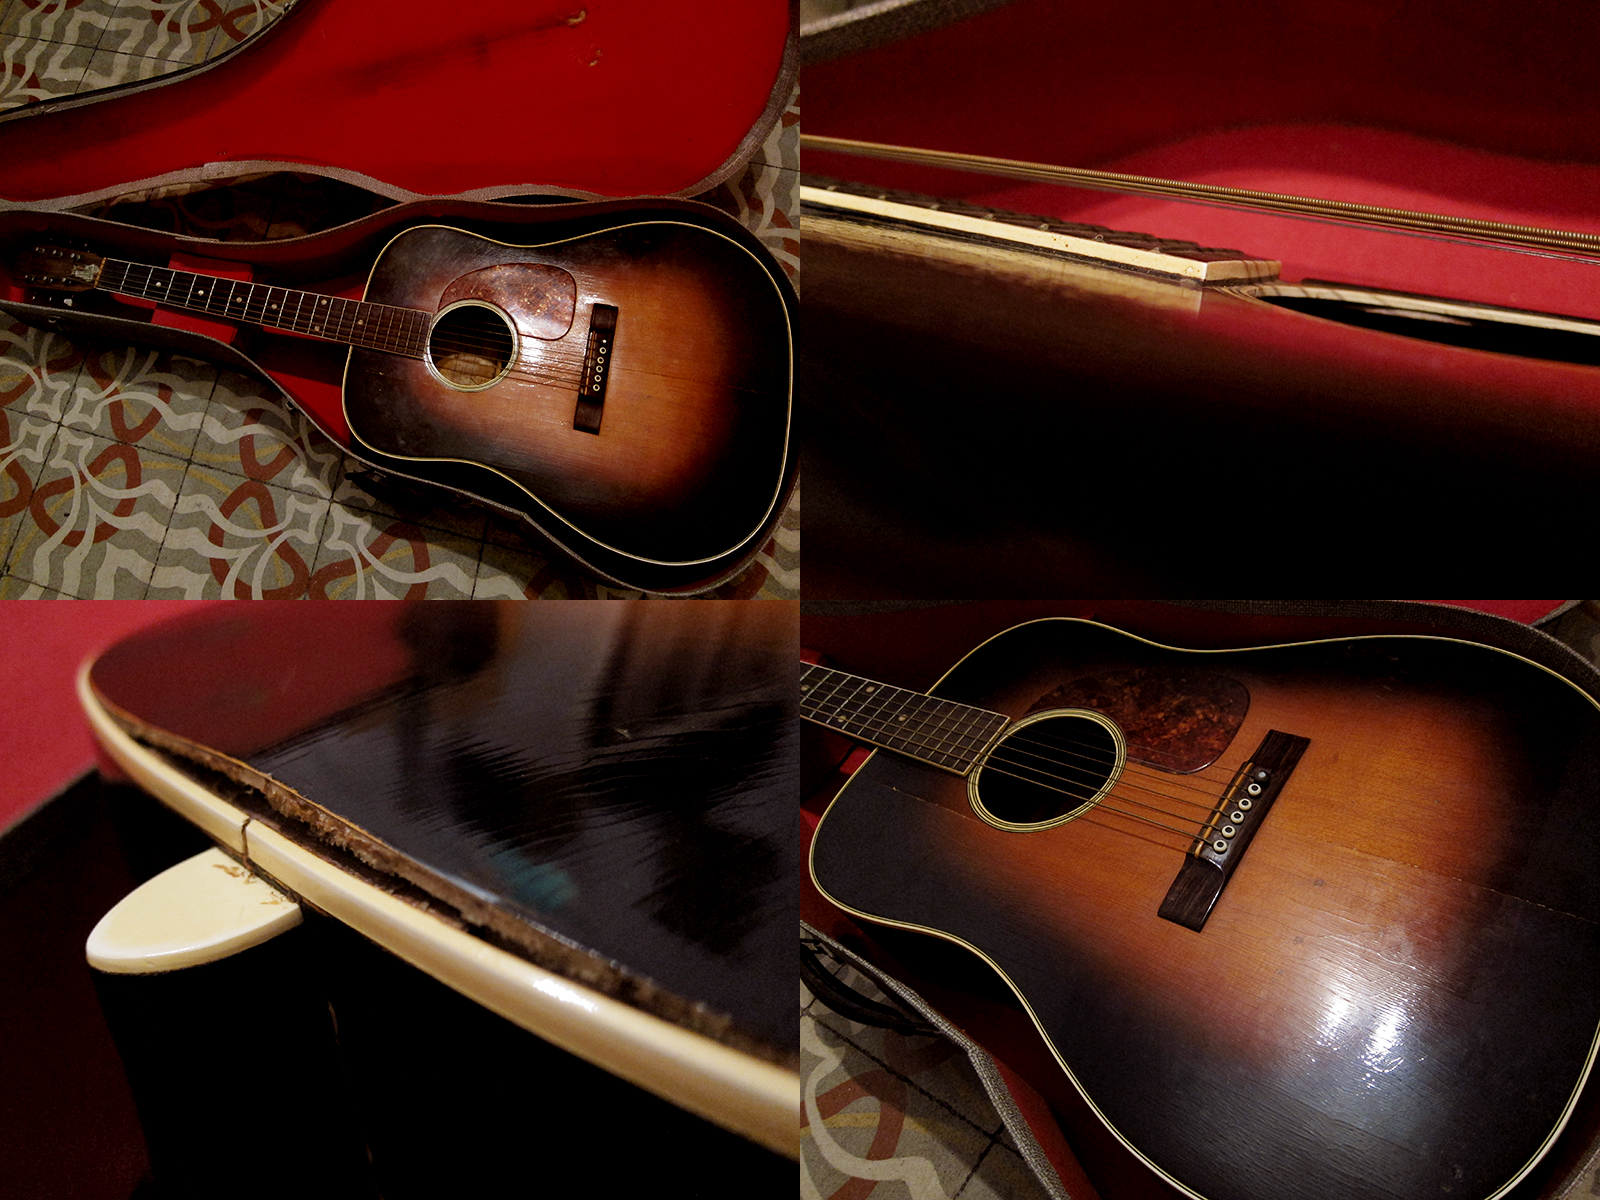
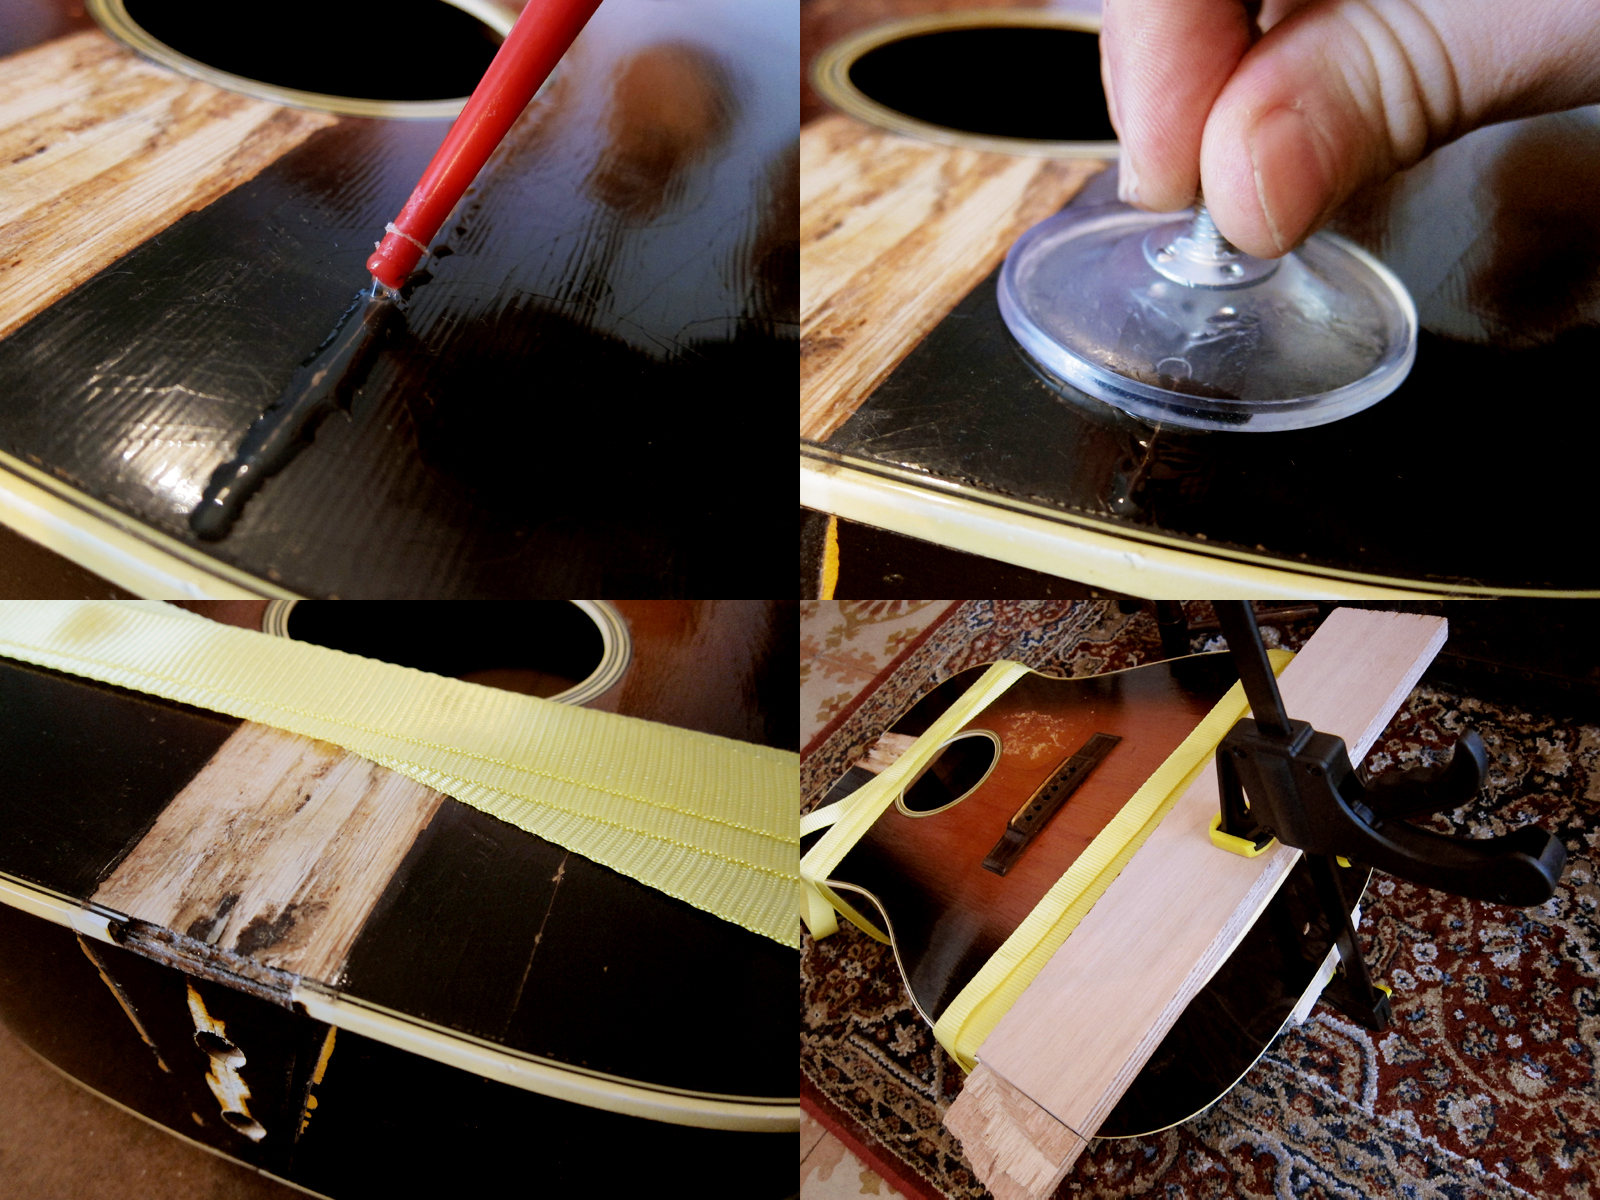
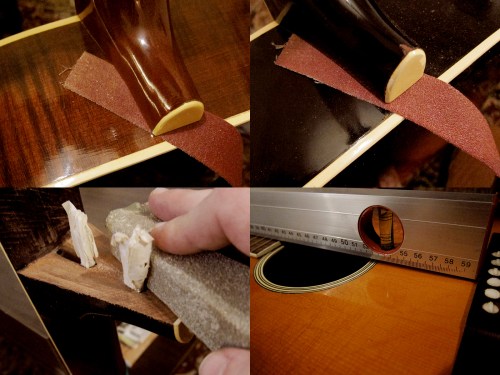 Remove the two bolts that attach the heel with the neck block, you can see them if you look inside. A normal Philips no 2 screwdriver fits if you don’t have a square Allen key. The heel is normally not glued in so you will feel it loose as soon as you remove the bolts. If not, apply a bit of pressure upwards to loosen the heel. Now you will be able to fit a sanding strip under the heel and can start to sand it down and that way change the neck angle and lower the action. Apply a bit of pressure on the neck and just pull, it might take 40-60 pulls on each side so so be patient. Check the neck angle with a straight edge once in a while so you don’t take it too far. As long as the straight edge doesn’t go over the bridge it should be fine. I have done the sanding strip trick on two guitars so far, my
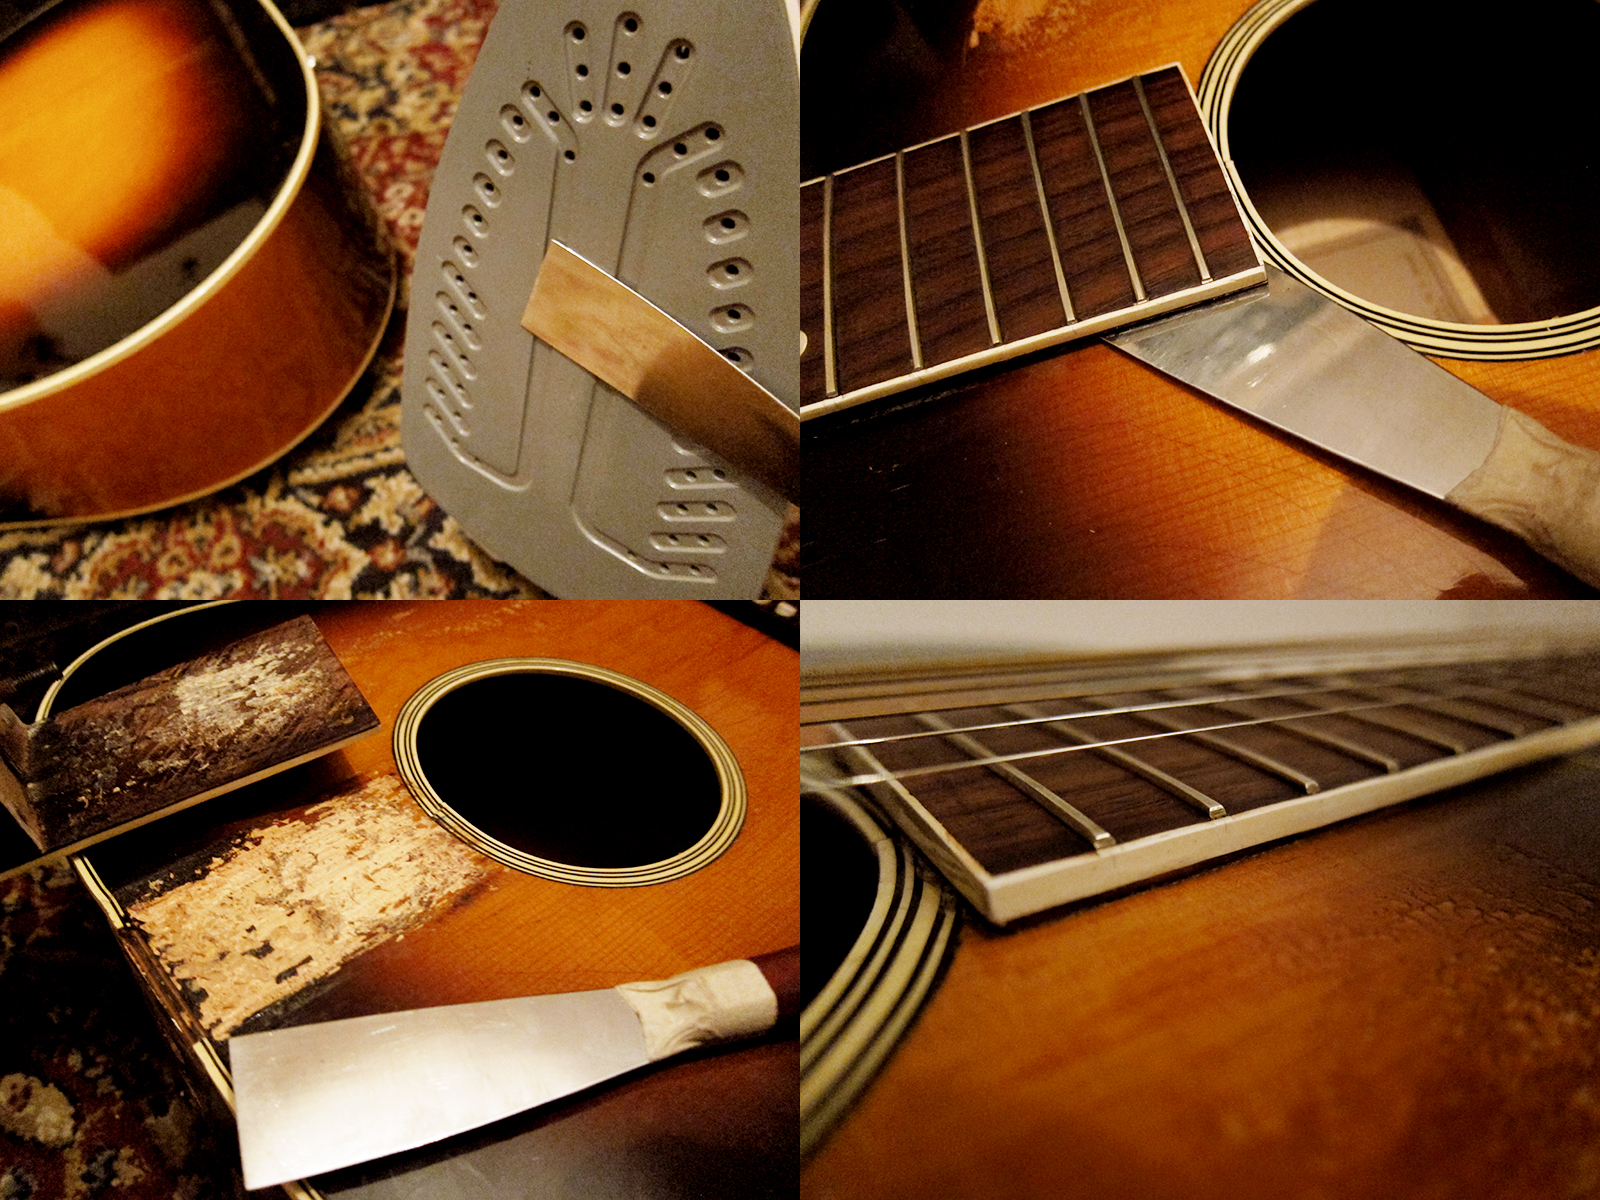


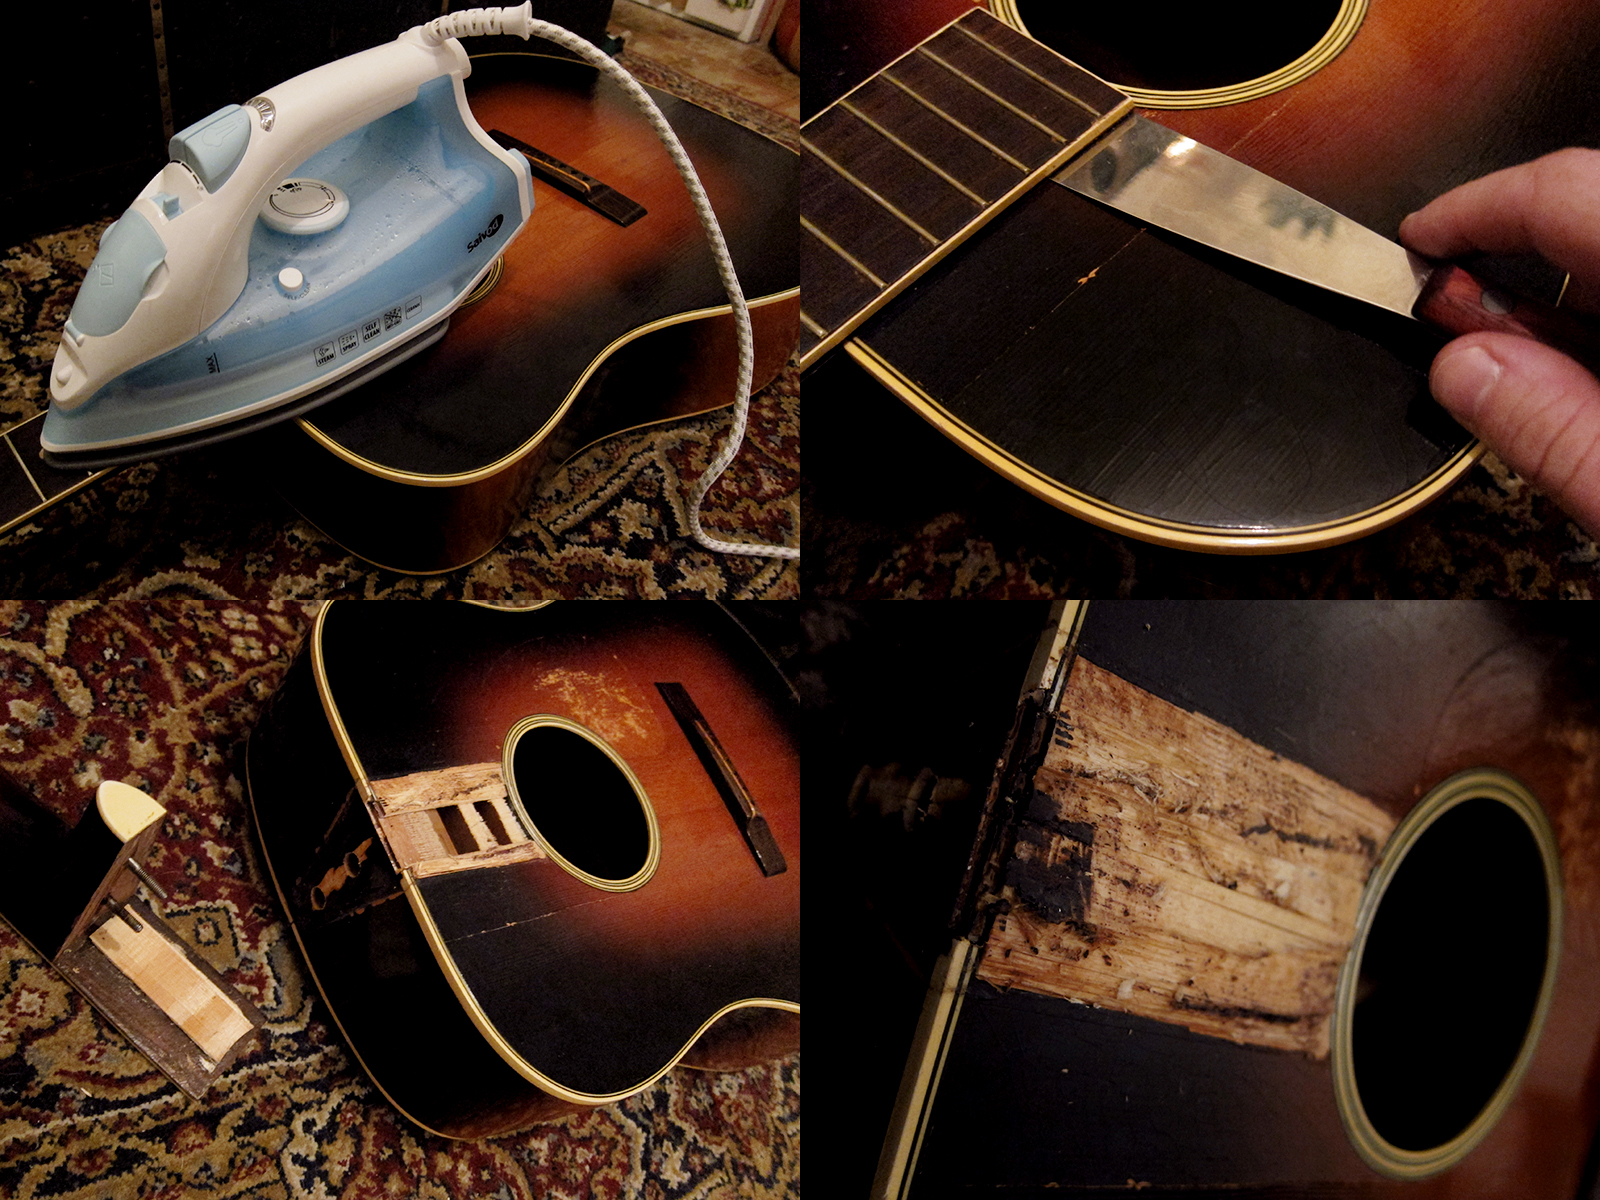
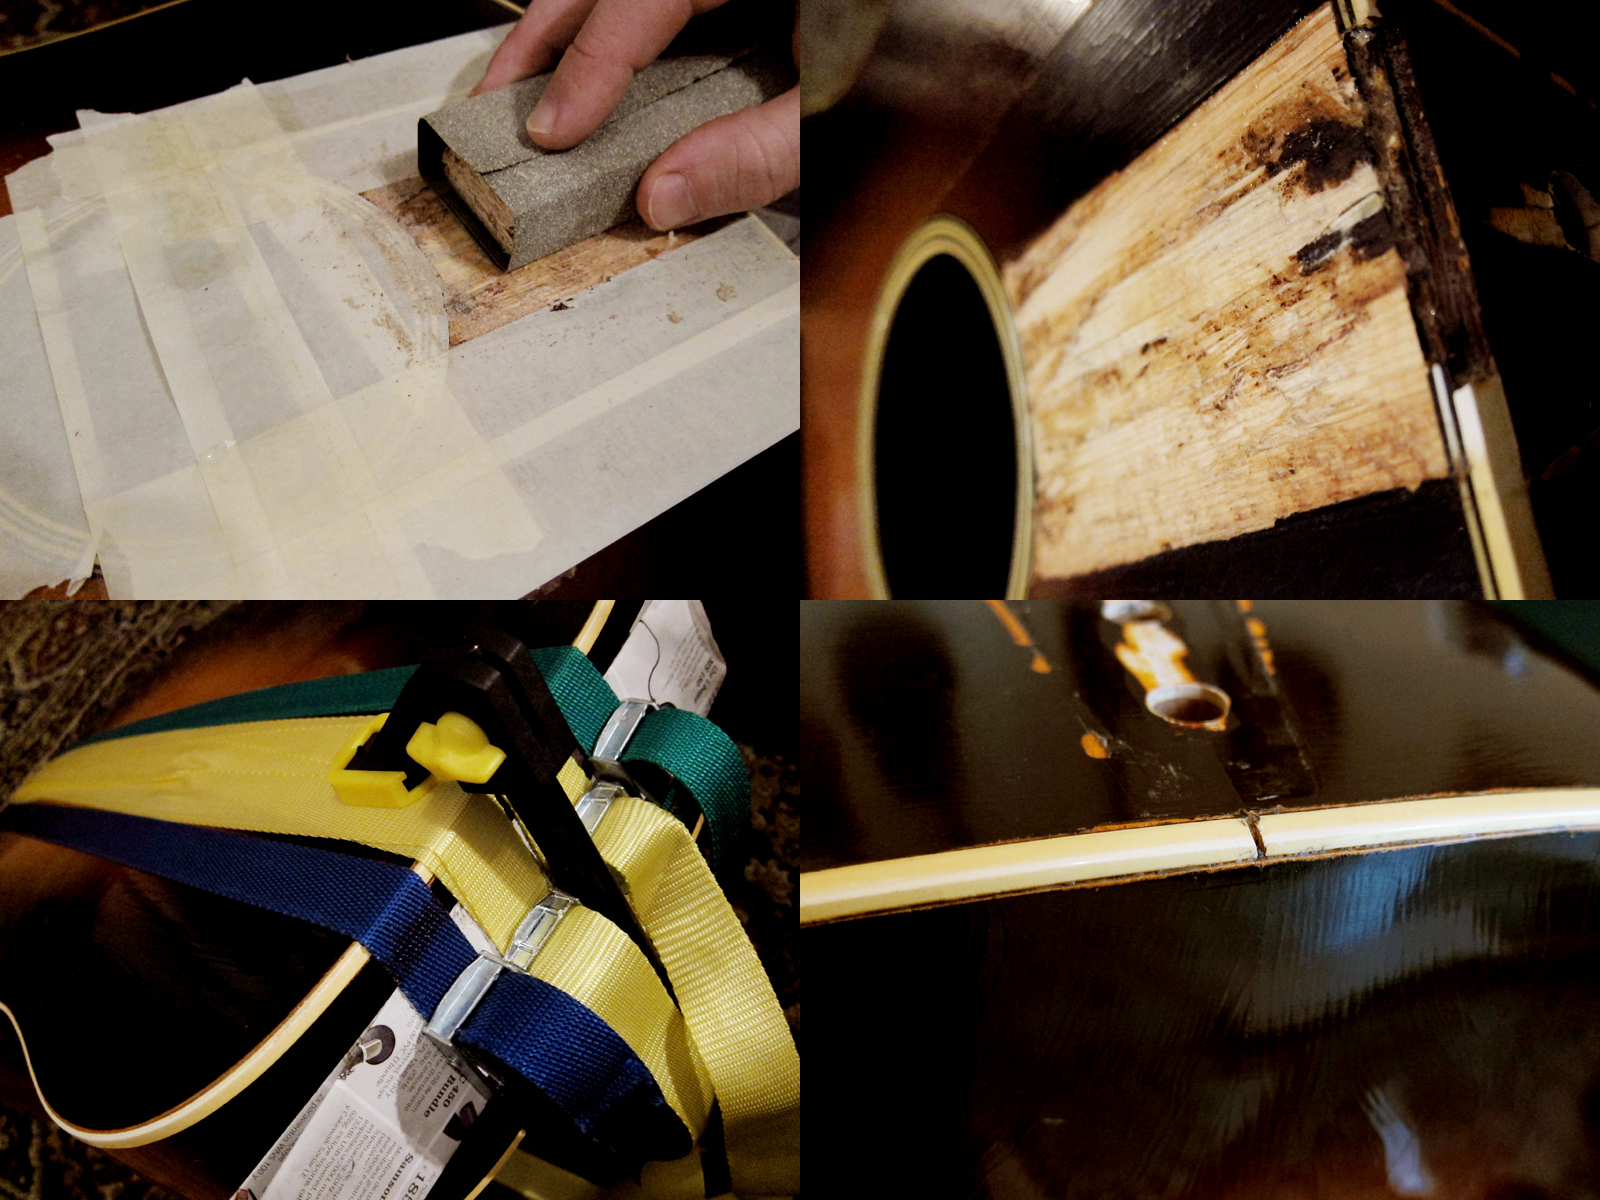
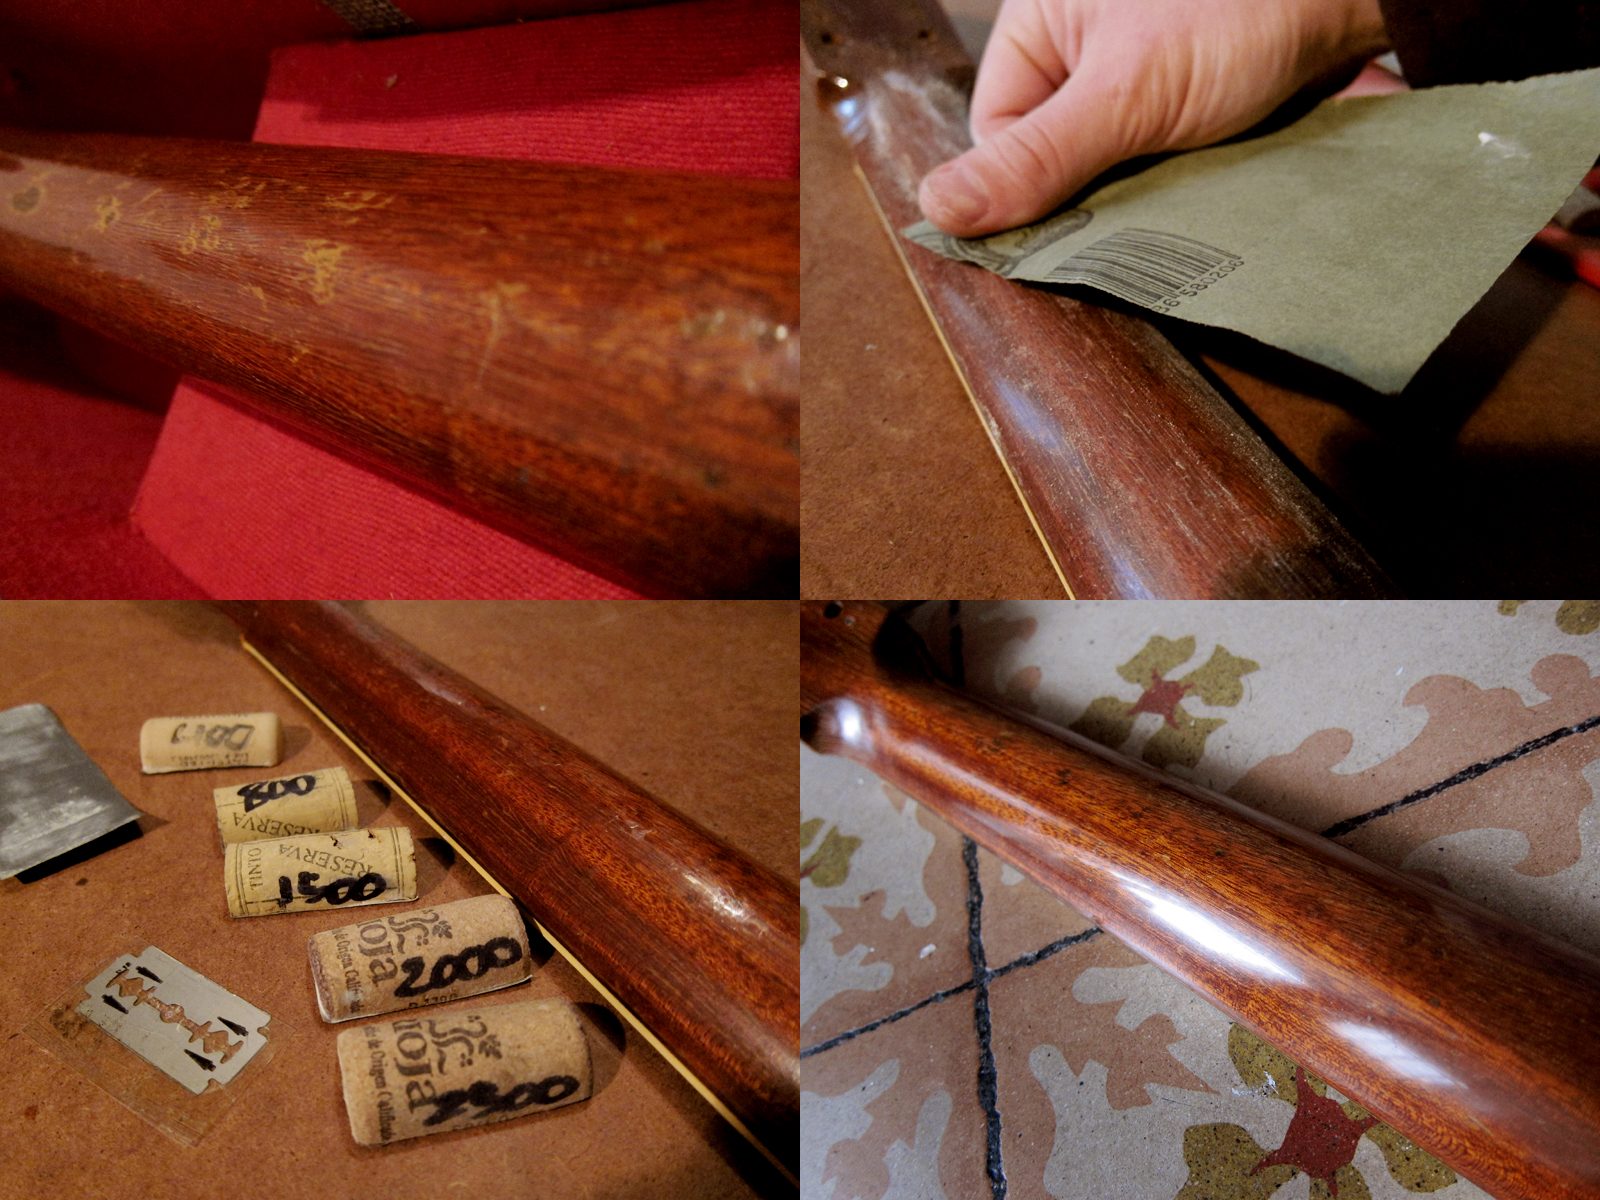
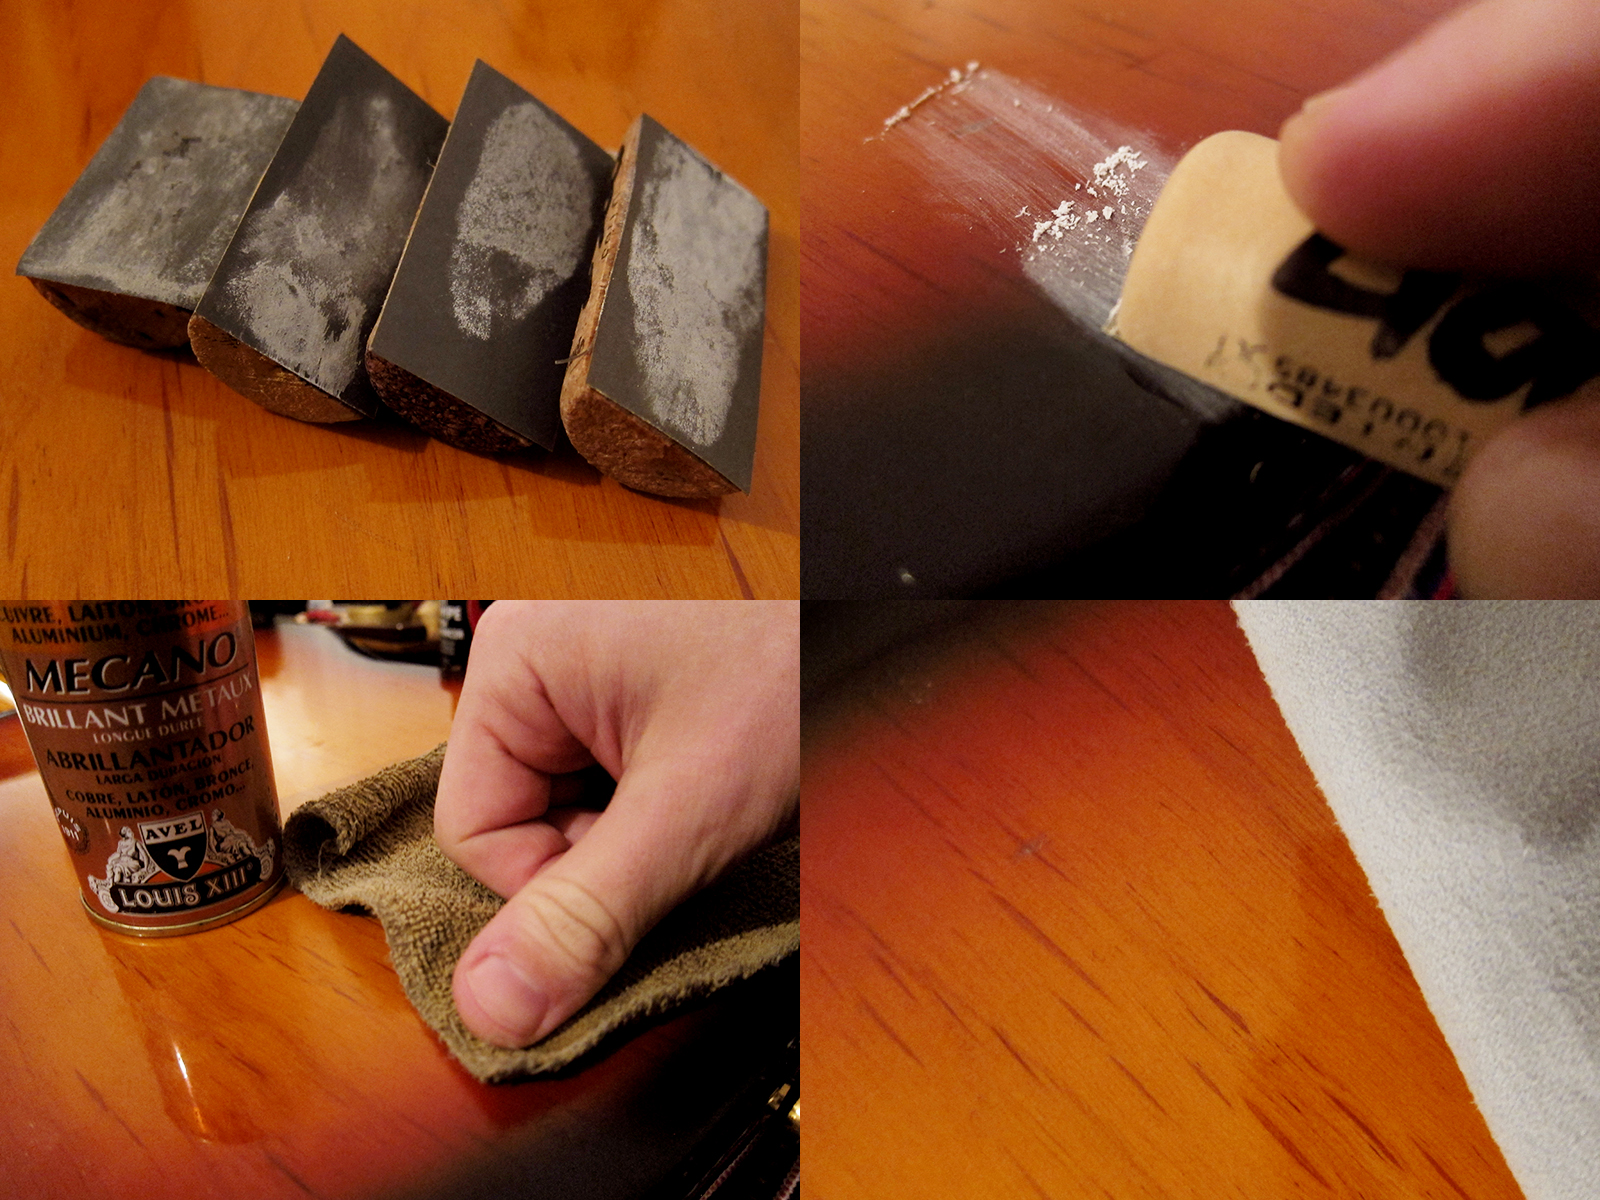
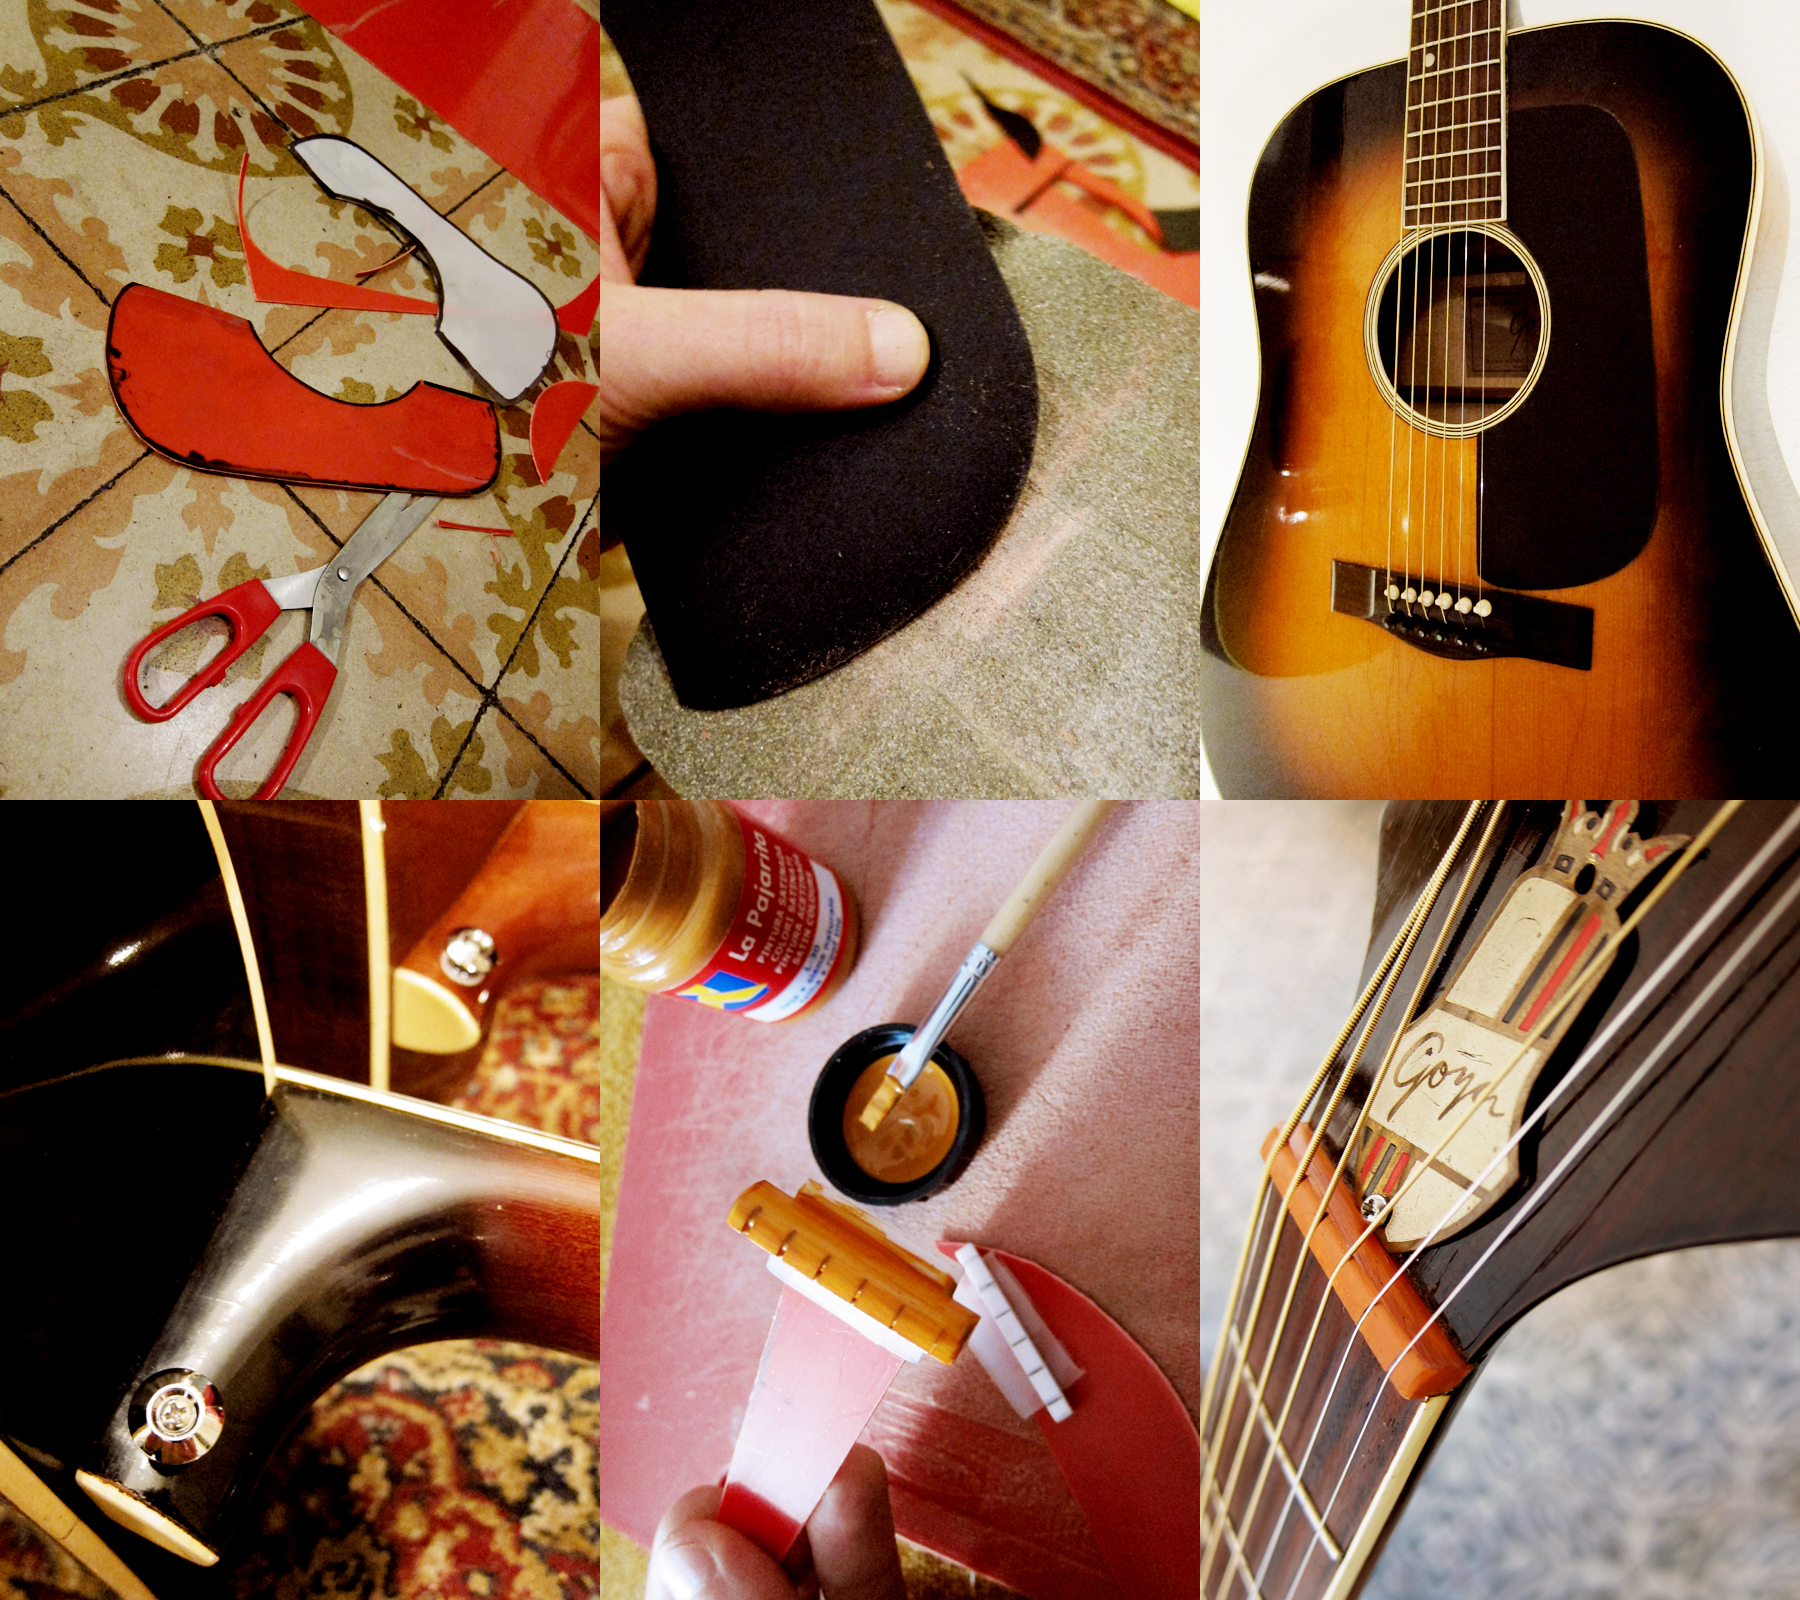
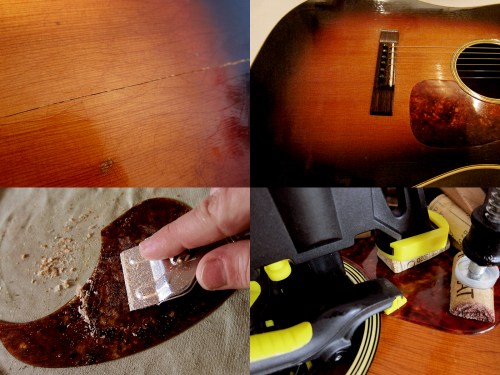 Once I had glued the cracks in the top, the first image shows before I started, I painted and lacquered the crack. I used normal matt black acrylic paint for the dark parts and just darkened the rest with furniture oil before I applied the nitrocellulose lacquer. Once the lacquer was dry I sanded the surface smooth with 400, 800, 1500, 2000 and 2500 grit. It worked really well, it’s actually hard to even see the big crack that went all the way from the edge to the bridge. I removed the old glue from the pickguard and then glued it back again.