How to… change the nut
by claesgellerbrink
I have never been too impressed with the cheap plastic nut on the Claescaster. When I first got it I brought the guitar to work and used it as my office guitar and after six month of heavy playing most of the string buzz was gone, but not all. I truly believe that if you do any changes and things doesn’t sound perfect straight away then just ignore it for a week or two and let the guitar settle a bit. If I get any slight buzzing or things feels weird after I have adjusted the bridge or saddles on my guitars I tend to leave it until the problem disappears, which it almost always does. However, after two years of playing the Claescaster like crazy I felt that the last bit of buzzing wouldn’t go away unless I changed the nut. I have drilled, soldered and screwed in my guitars, adjusted necks and changed things around but I have never dared to remove a nut. It just felt like one of those things you couldn’t do by yourself. After 3 glasses of cava at work I felt I had the Dutch courage needed to take on this daunting task so on my way home I went passed Herrera Guitars, my favourite guitar shop in Barcelona, and bought a TUSQ PQ-5010-00 slotted nut for Strat and Tele. I started with removing the old nut, something that was way easier than I expected. I took some watch tools, finally I found some use for those, and just lightly tapped the nut from one side with a watch back opener and small hammer, it came loose straight away. I cleaned the slot a bit, removed some left over glue with a knife and then sanded the sides to make it slightly wider to fit the new nut. The TUSQ was a lot bigger than I expected, I did measure the old nut a couple of days ago but maybe I mixed up the measurements or I got the wrong nut because this one was almost 3 mm longer than the existing one, even though the string spacing was the same. I took the old nut as a reference and made a mark on each side and then just cut off the excess with a knife on the chopping board, it’s a very easy material to cut and work with. I filed down the edges with a sandpaper and also scratched all sides so the glue would stick better. Now it was just down to put some super glue in the slot, probably not the best glue for this but the only one I had at home, and then gently tap down the nut in its place. Done. I have to say that this was way easier than I expected and everything went really well. I should of course have masked off the wood with some tape not to scratch it but I was too excited to take those kind of precautions. Now with the new nut fitted this neck is a joy to play, it’s a world of difference. I feel that both tone and resonance has improved a lot and I can easily recommend TUSQ.
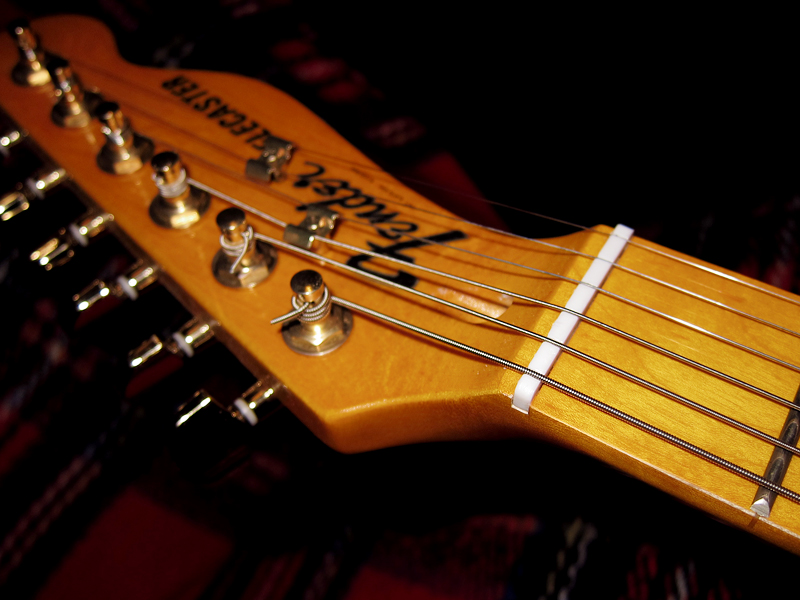 The old plastic nut that this cheap neck came with
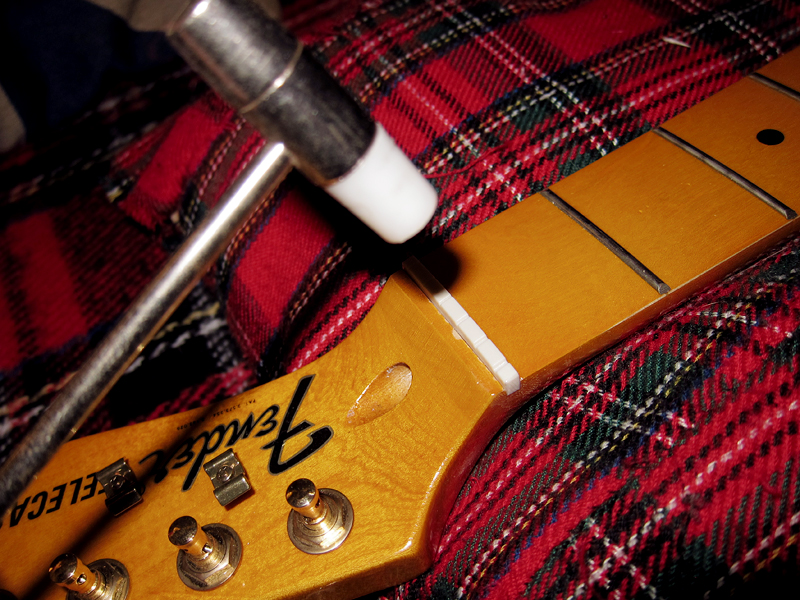
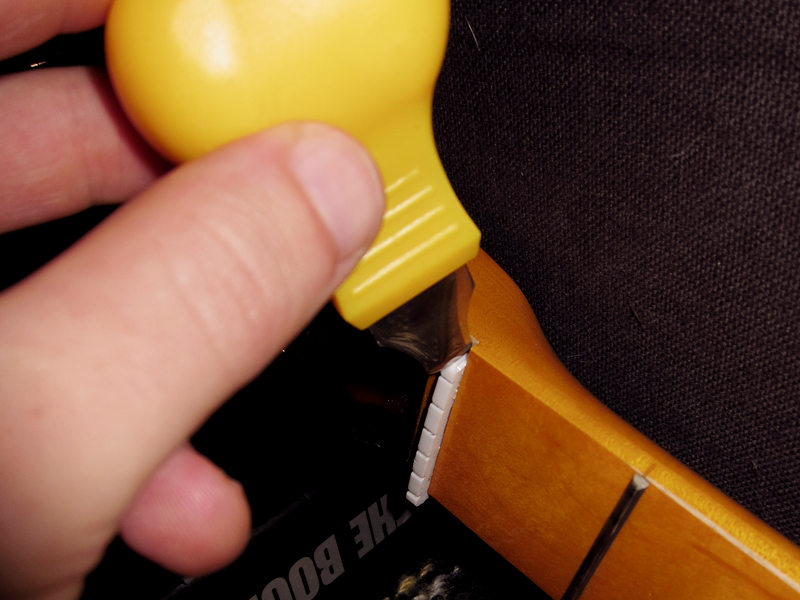 A watch back opener and a little rubber hammer turned out to be excellent tools for this
 It was way easier than I expected to remove the old nut
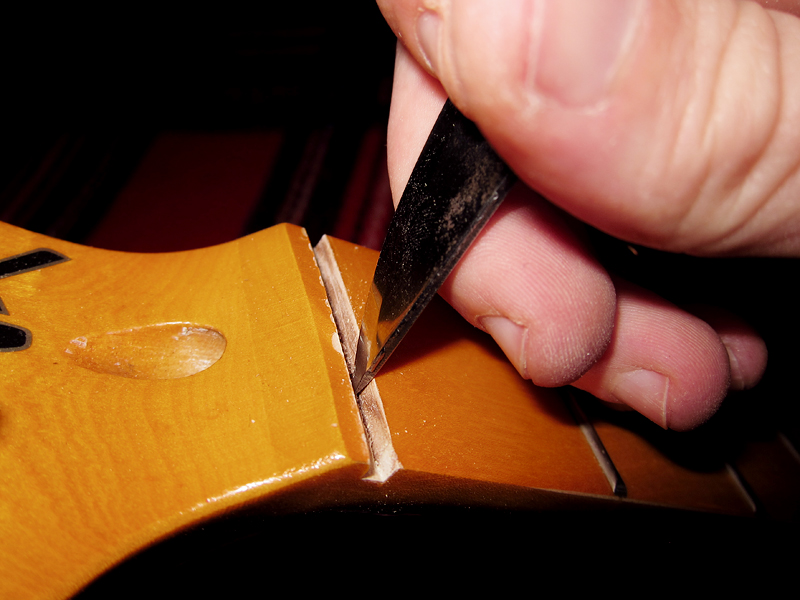 I scraped off some leftover glue with a knife
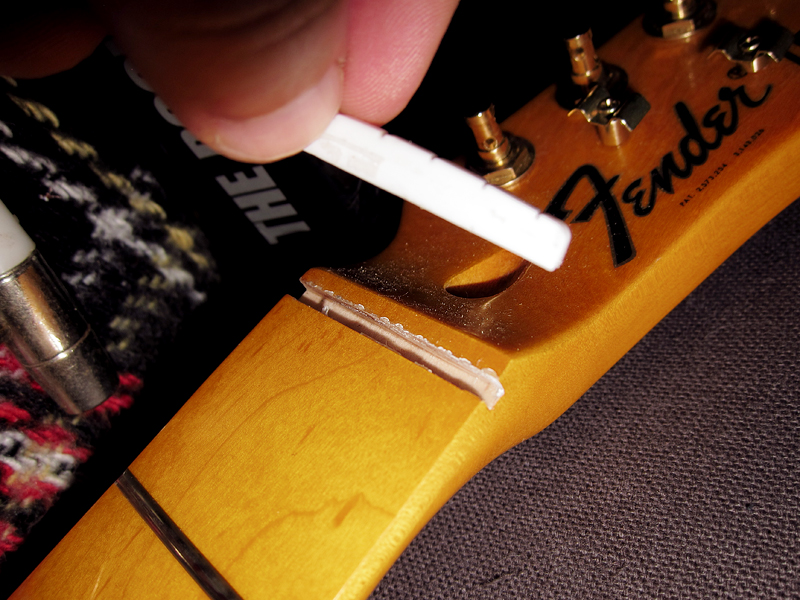
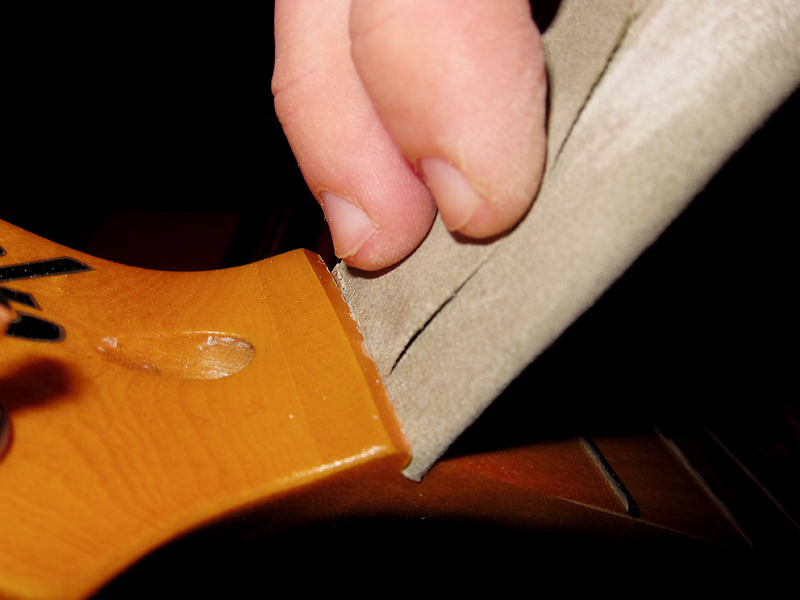 Some sandpaper got the surface smooth and I also needed to widen the slot a bit to fit the new nut
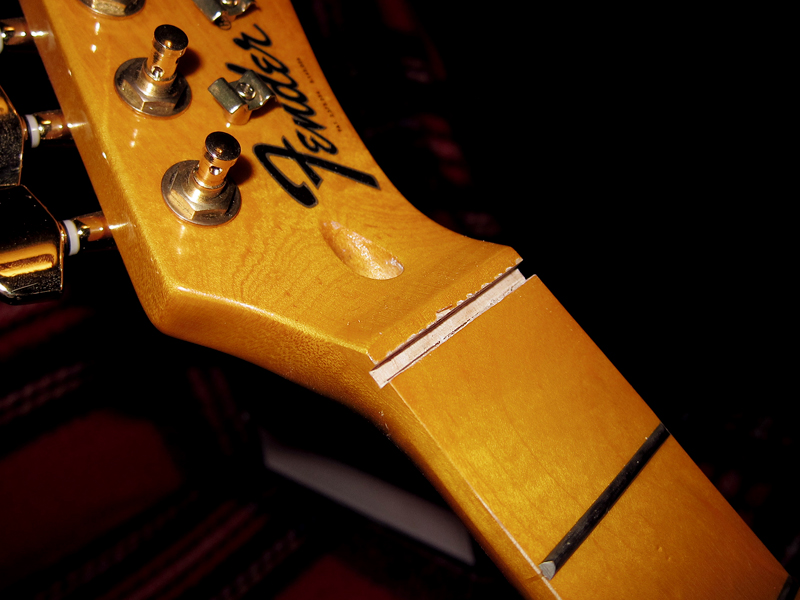 Not the best cut nut slot but I didn’t really expect more from this neck
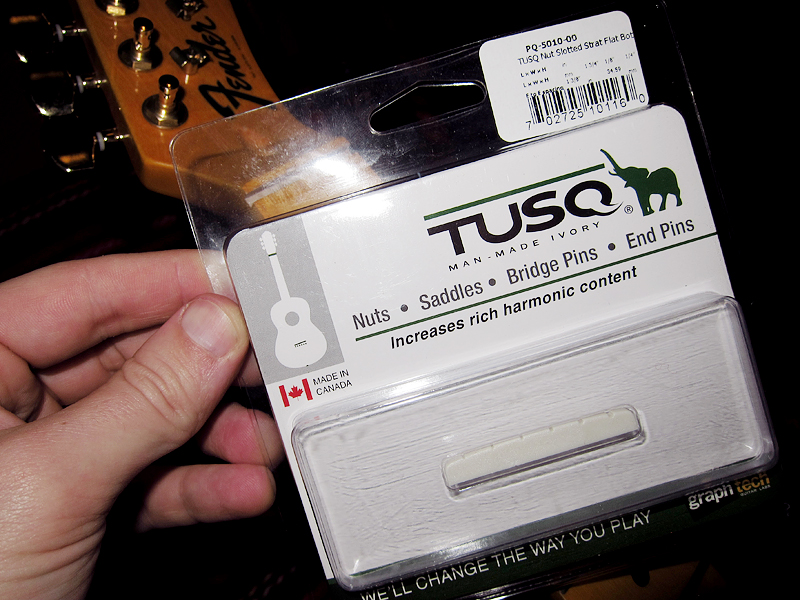 The new TUSQ PQ-5010-00 only cost 8€
 Perfect fit
 A tiny bit of glue and then just gently tap the new nut in it’s place
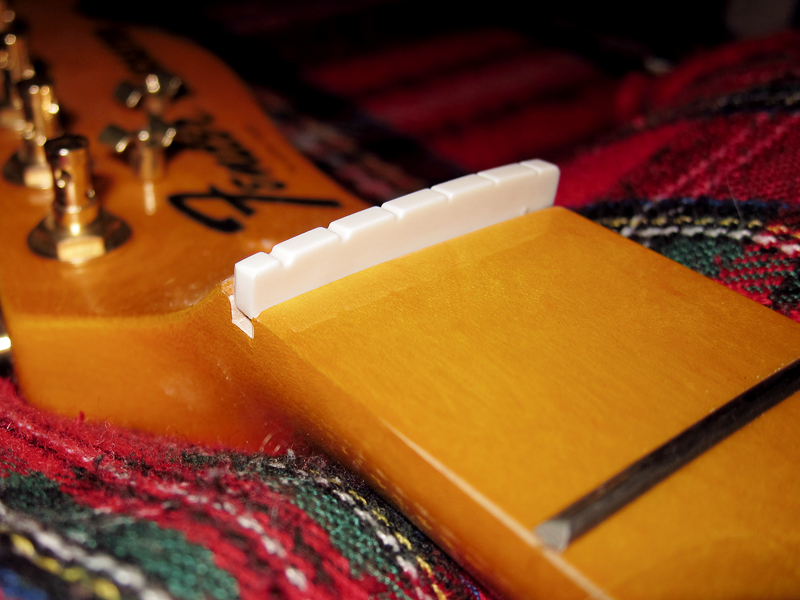
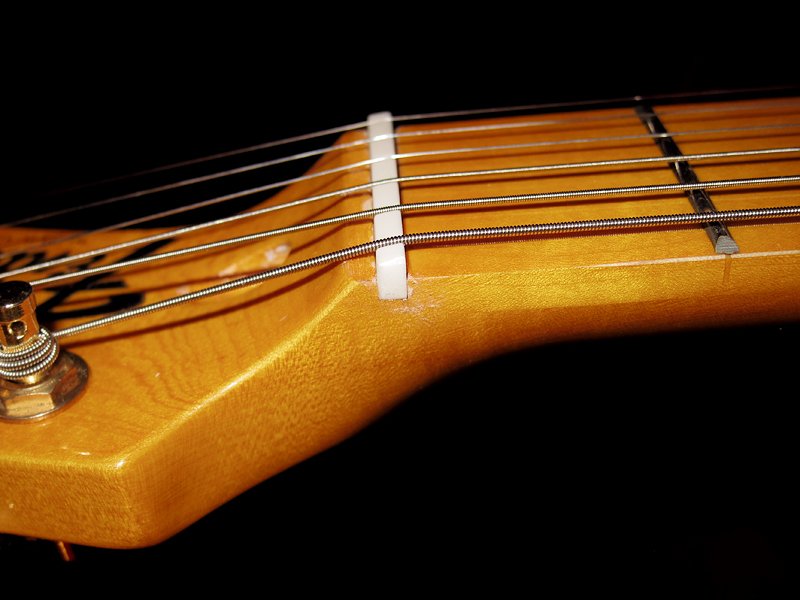 All set, a new nut is fitted on the Claescaster

[…] sand a bit there. Anyway, now it’s done and I’m really happy with it. I just need to change the nut tonight for a Tusq and then we are all […]