Levin model 65

Levin Model 65 parlour guitar Made in Sweden 1942
Last weekend I decided to try to improve the playability a bit on my little parlour Levin model 65 from 1942. It doesn’t have an adjustable trussrod, few guitars did before the 1960’s, and would probably benefit from a neck reset but I thought I should start with the easy things first. Like making a new bridge that is a bit lower and that way get the action down and it worked really well. The easiest would have been to just file down the original bridge but I felt I rather make a new one than mess with the old one.
Update: July 31, 2014
I actually carved a new bridge from scratch, you can read about it here: How to… carve a bridge, that worked out ten times better.
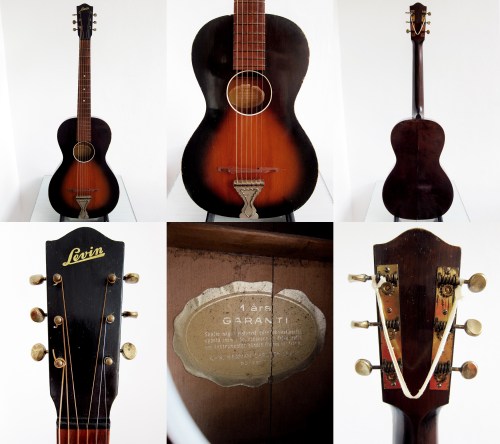
Levin Model 65
Body width: 315 mm
Spruce top, birch back and sides.
Unbound top, back and headstock.
Unbound walnut fingerboard with mother-of-pearl dot inlay
Rosewood bridge, brass tuners, nickel plated tailpiece
Dark brown finished neck, back & sides.
Sunburst finished top and one year warranty
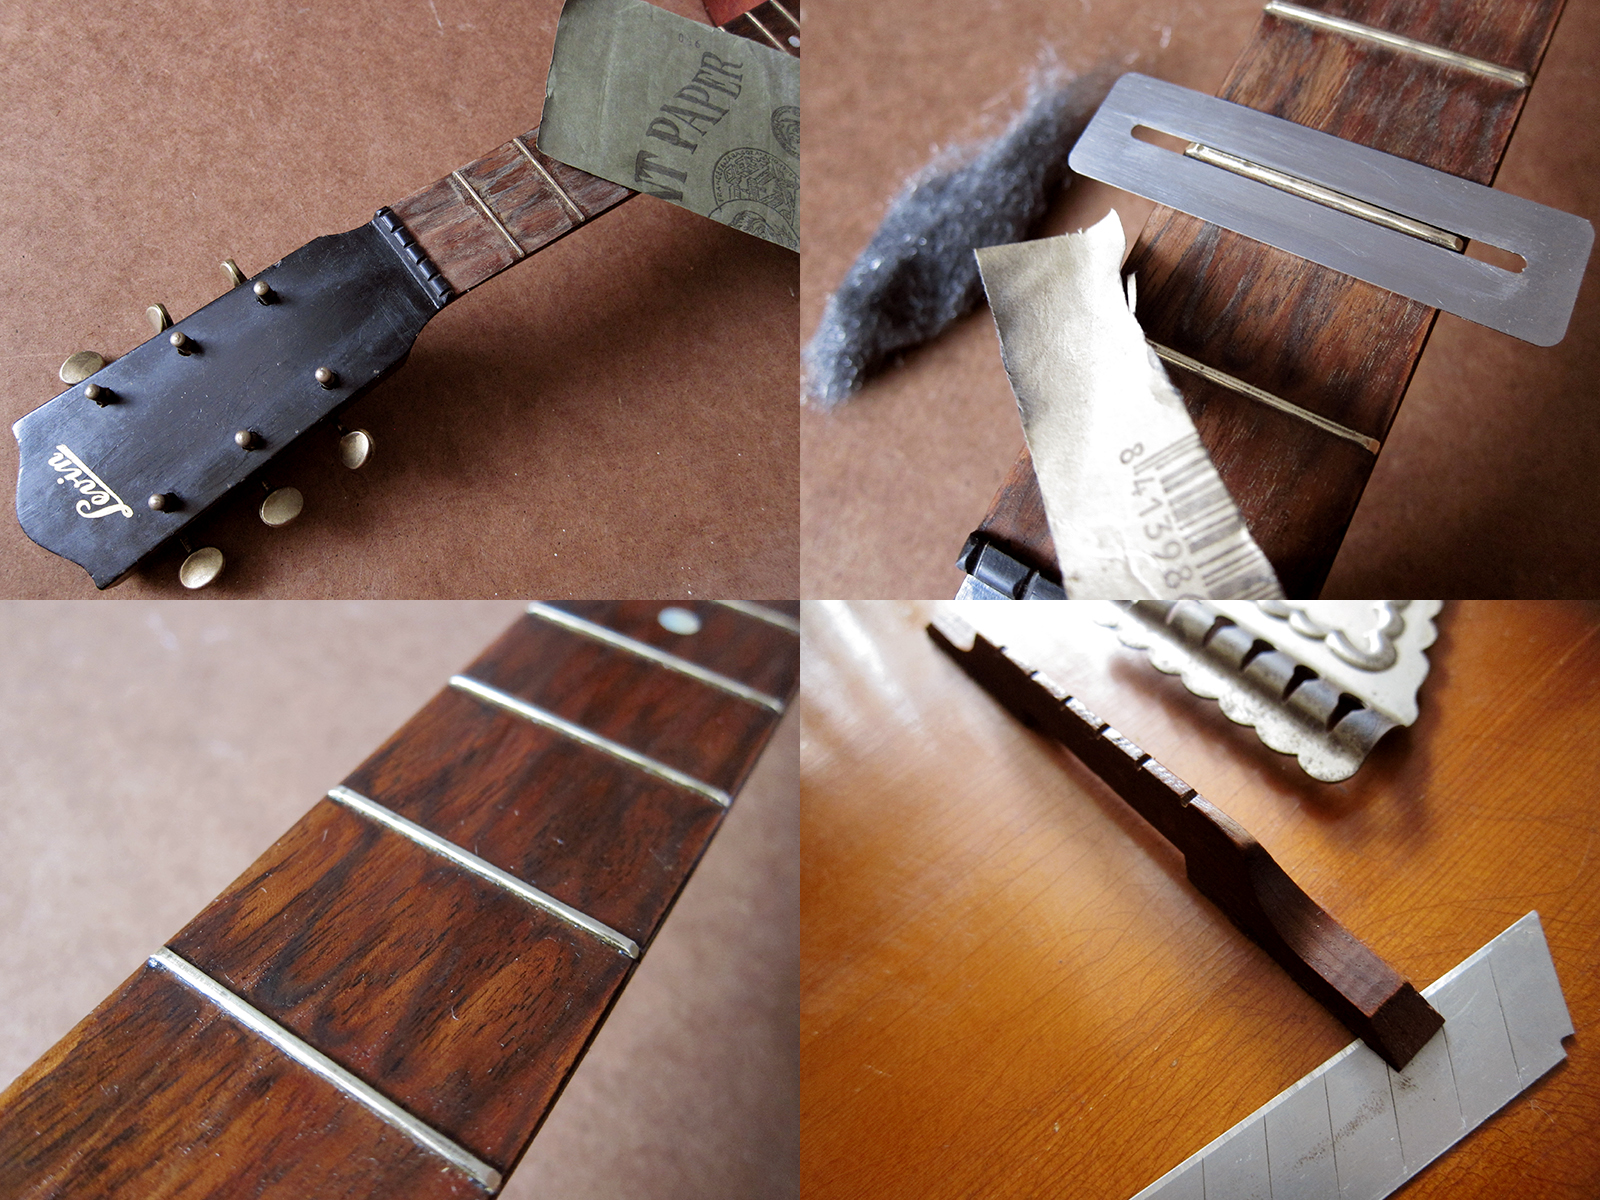
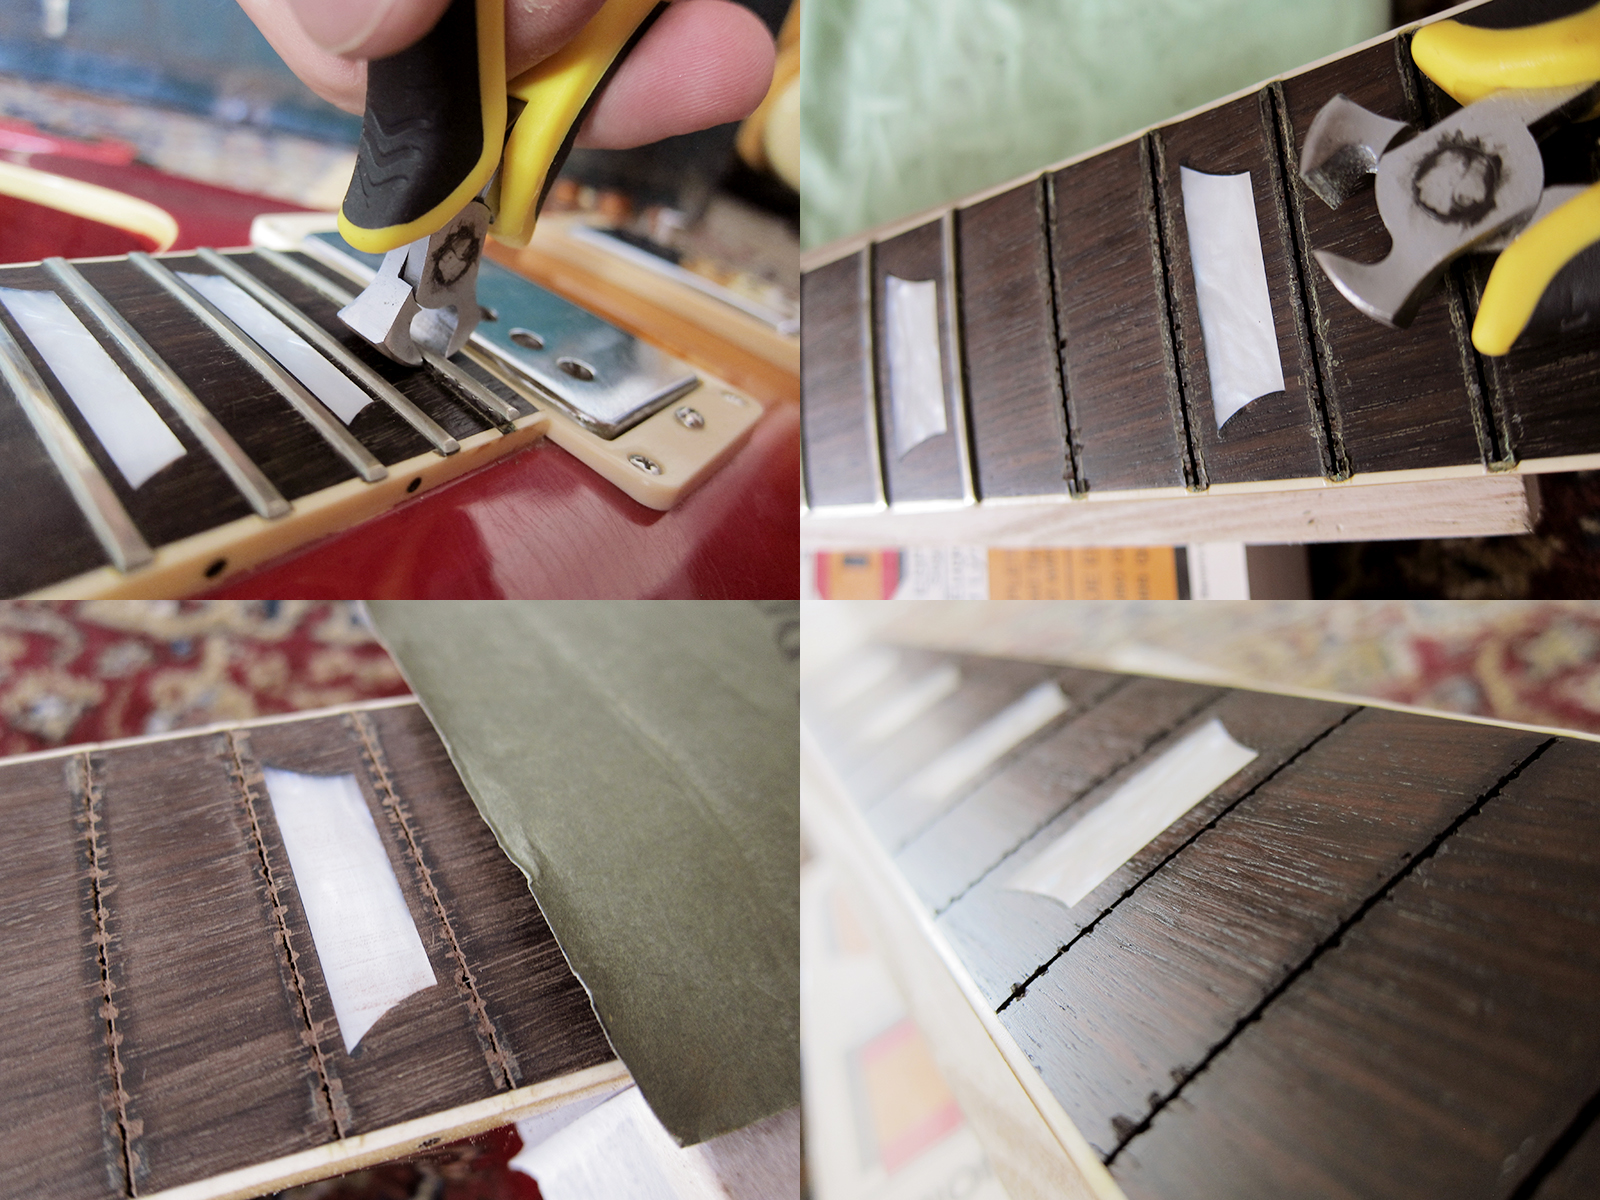
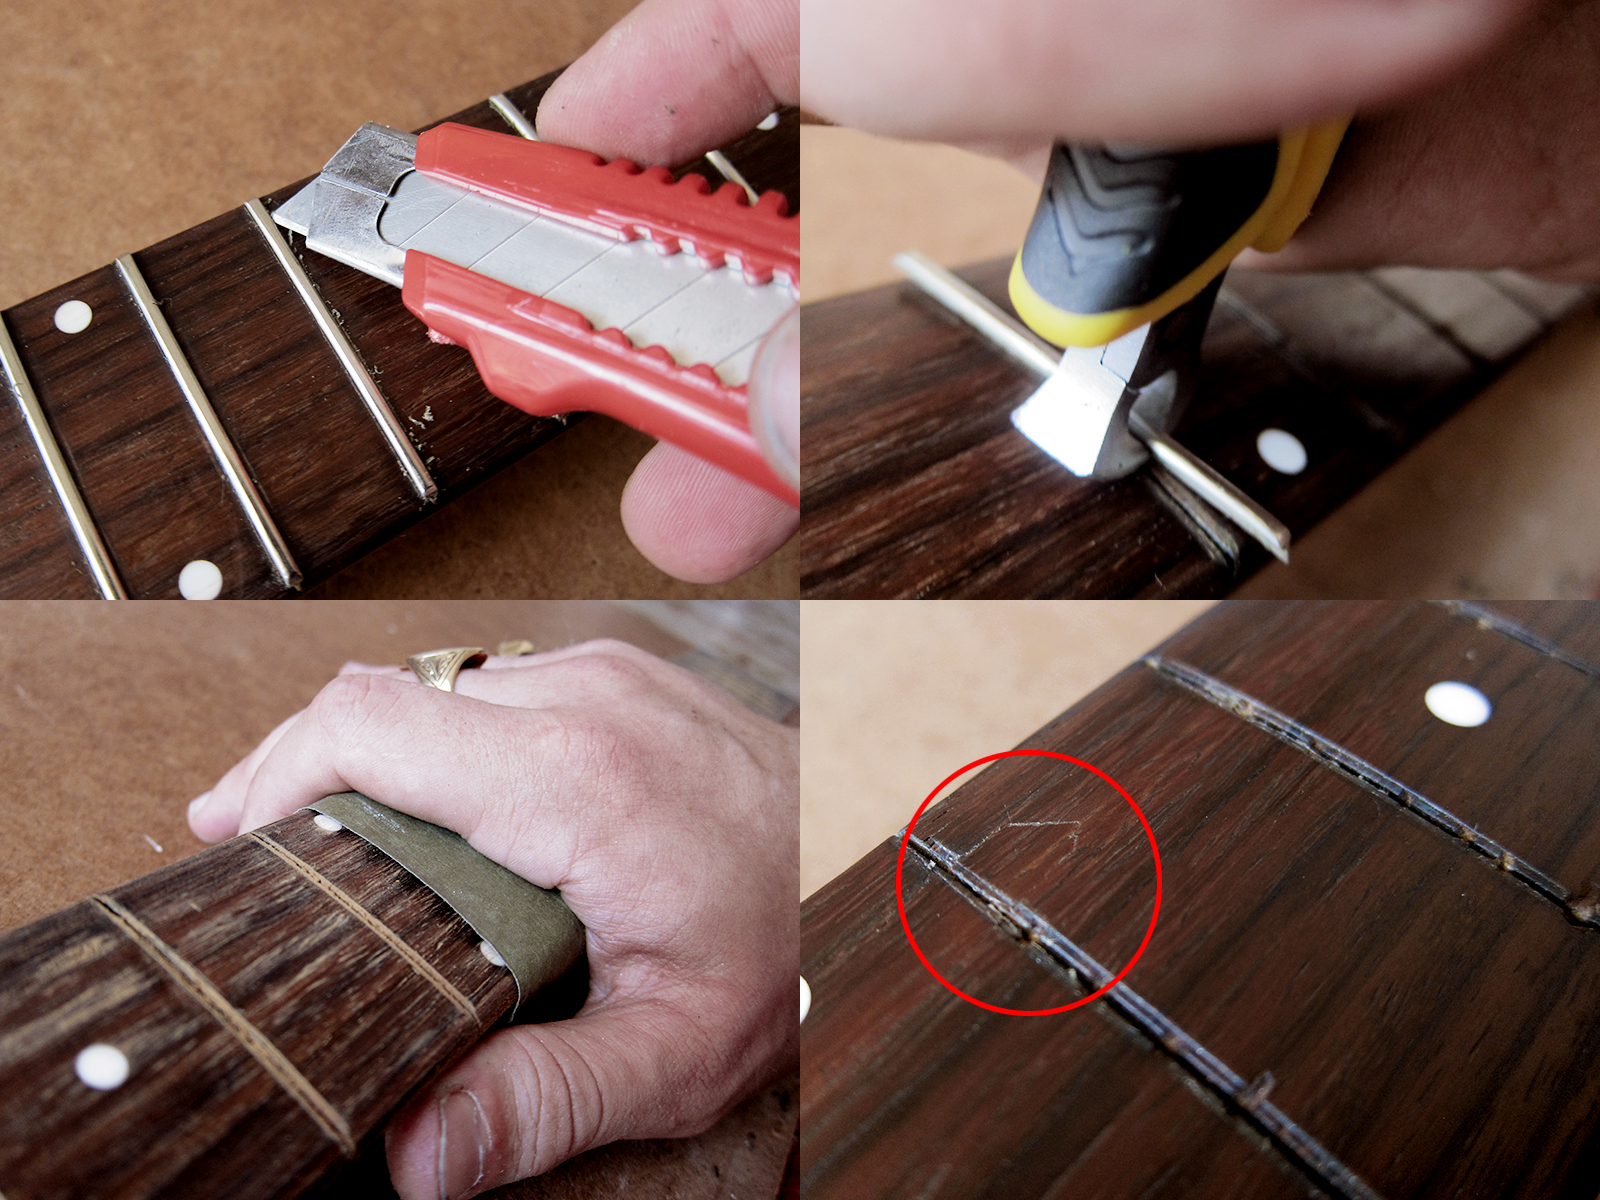
Since the strings were off I thought I mights as well even out the fretboard a bit and polish the frets. I cleaned the edges of the frets with a toothbrush and then oiled up the fretboard with lemon oil. I managed to cut through the old glue with a razor blade and that way get the old bridge off.
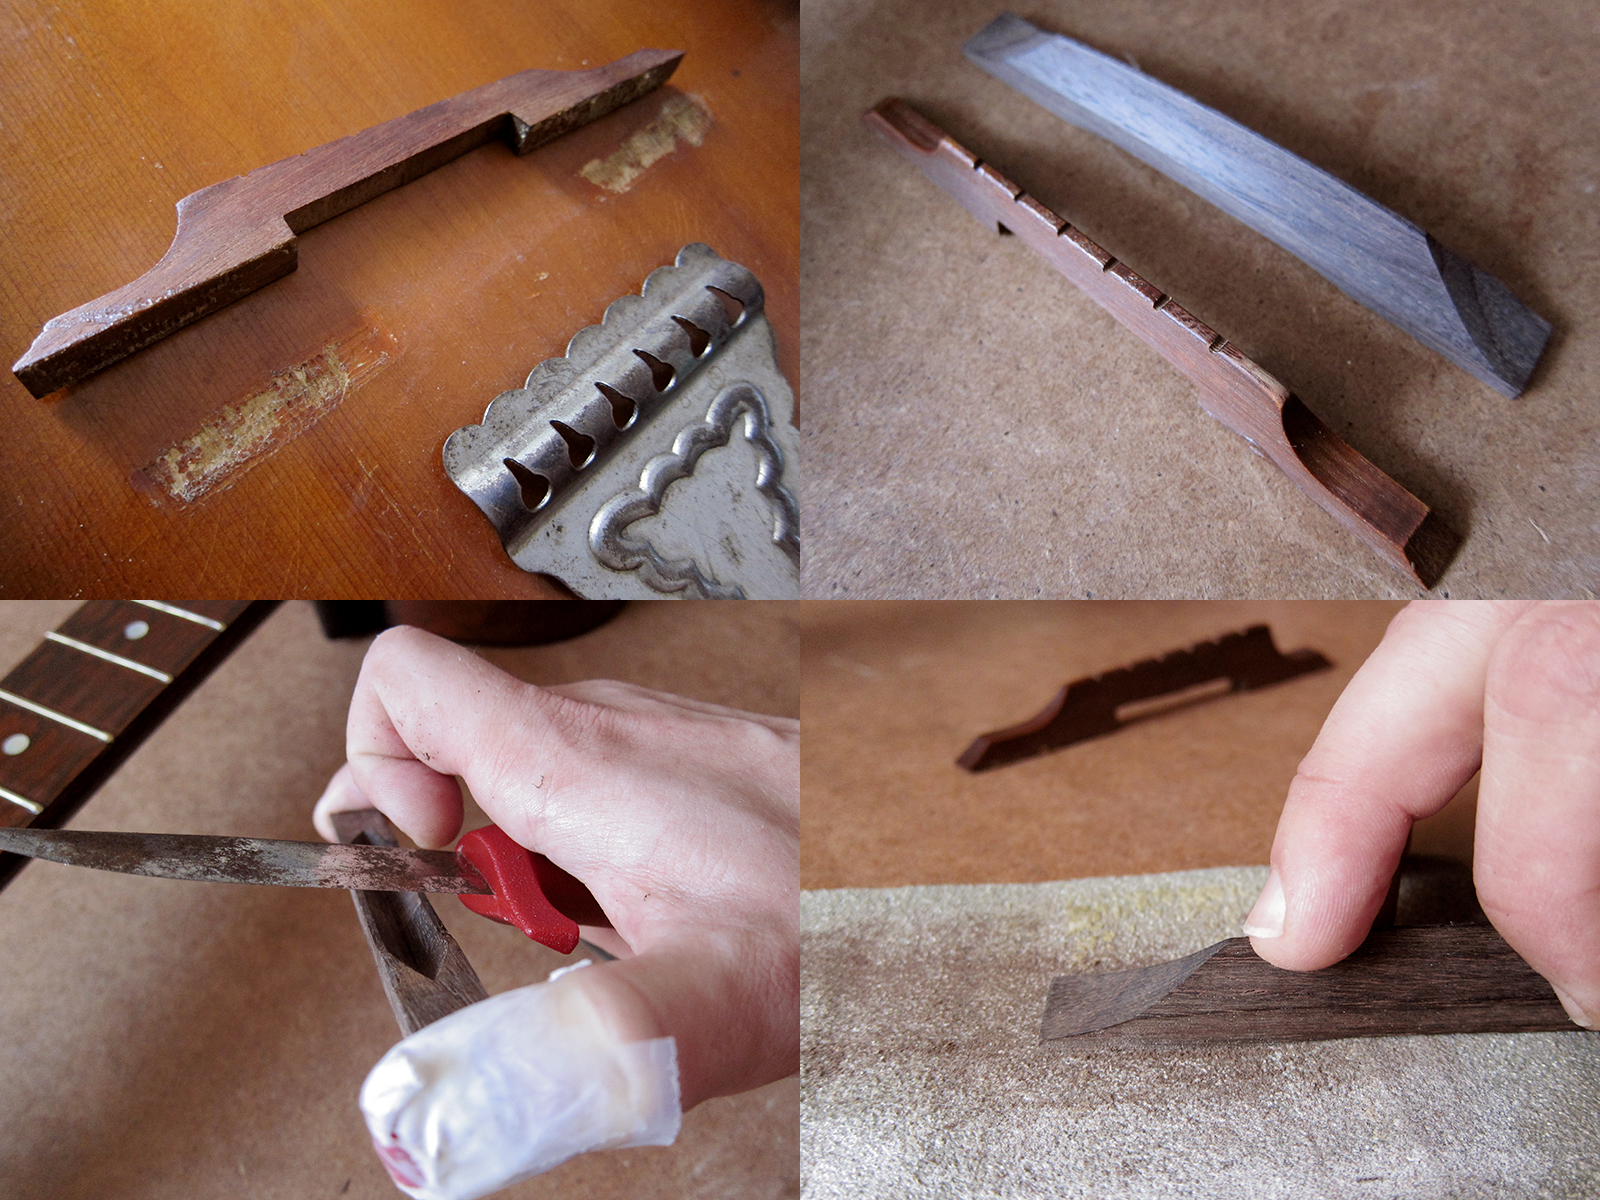
I think this bridge has been re-glued a couple of times since 1942 and that’s why some of the nitro lacquer came off. It’s hard to tell, it might have looked like that for 60 years under the bridge, who knows. Either way there isn’t much to do about it so I will just try to ignore it for now. If I can’t stand it I can always put the original bridge back. I got a cheap replacement rosewood bridge from eBay, straight from China for 3.50€. Now I just had to get the angle right, Levin always has their floating bridges in an angle, maybe it’s the same for all floating bridges. I copied the old bridge to get the angle right and started to make it as low as possible. Of course I cut my thumb after about 12 sec and had to rethink my methods of getting the bridge lower. In the end it was a combination of knife, a Swedish Morakniv of course, and sandpaper before I oiled it up with lemon oil to get it dark and nice. I read on Swedish forum that a great trick to get this parlour guitars to sound less jangly or rattly is to mute the tail piece. Apparently the main reason why these small bodied guitars sound like they do is because of the rattling tail piece. I muted mine with half a black sock that I tucked in so you can’t see it and it really made wonders to the sound. It’s a lot warmer and more woody now.

I copied the string spacing from the old bridge, made a notch with a knife and then filed it down with folded fine sandpaper and a round file. I also realised that since I had to take so much off in the bottom on the high E side, the bridge looked really unbalanced so I cut of a chunk on the other side and rounded off all the edges to try to create a nice looking bridge.


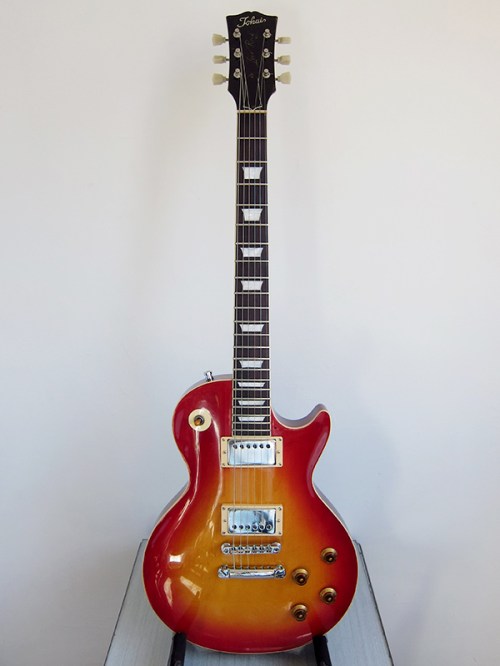 Tokai Love Rock LS-55 Les Paul Standard “Made in Japan” 1991
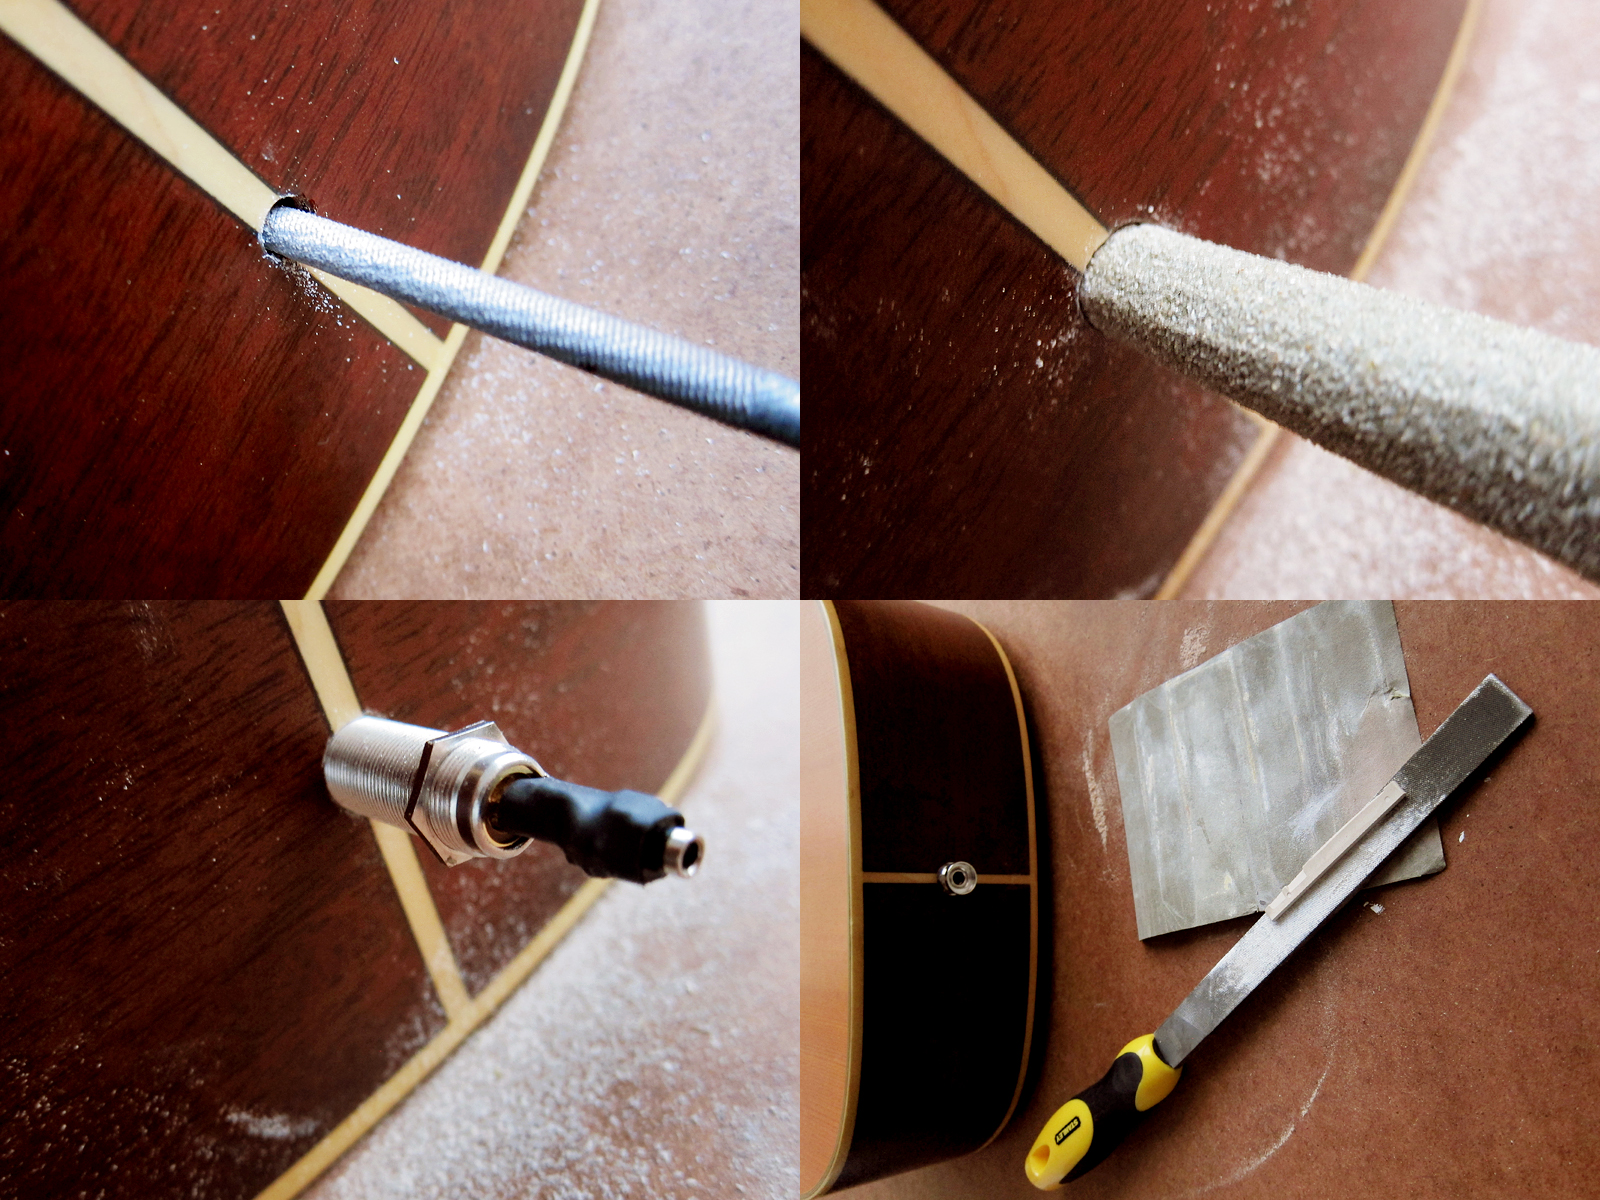
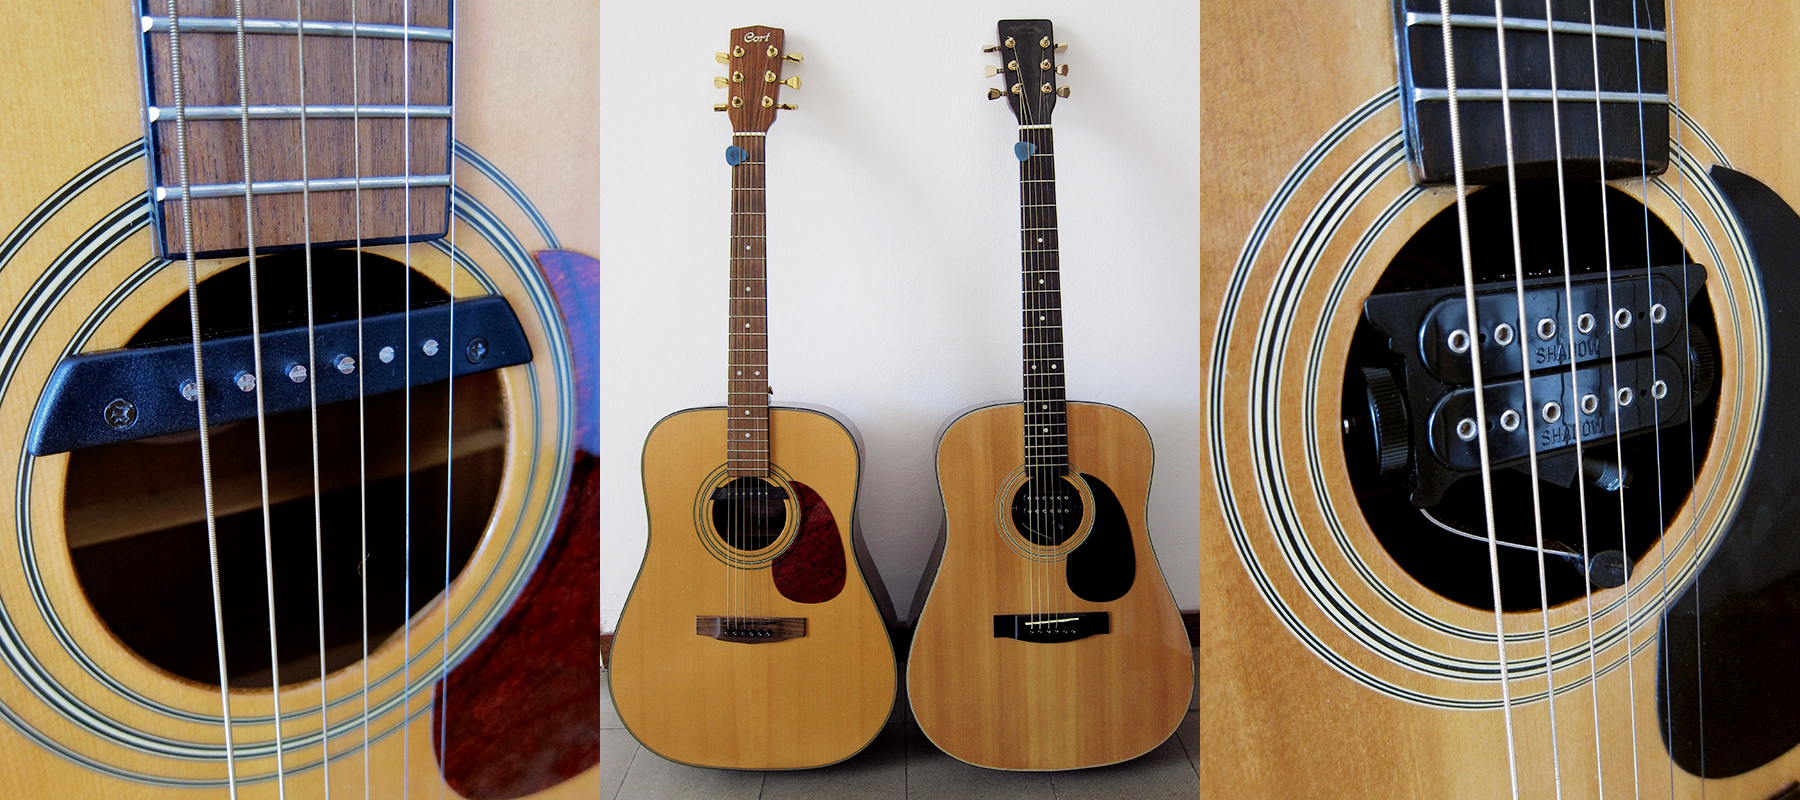
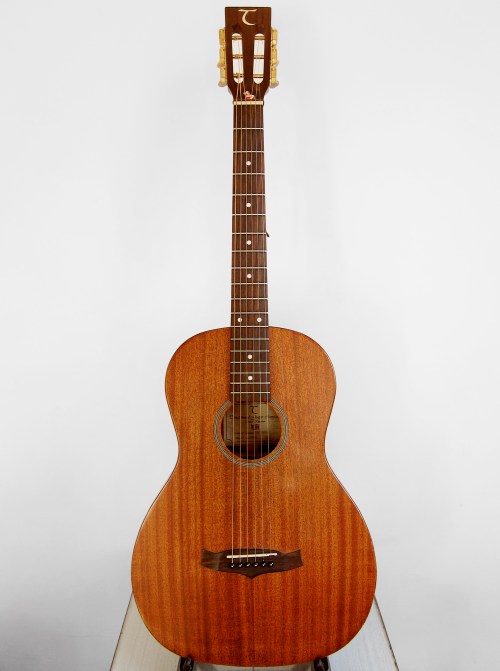 Vintage V880N Parlour acoustic, newly fitted with a ARTEC PP-607 undersaddle Piezo pickup